Showing posts with label Tools. Show all posts

Thursday, December 10, 2015

Begin Doors

Ahh, the dreaded doors. I haven't met many folks who've said they enjoyed building the doors of their RV-10. Apparently the plans aren't the greatest, the scribe lines aren't very useful, and the parts themselves need a good amount of effort to make everything work properly. We do have the benefit, however, of following in the footsteps of many before us who documented what they did (or should have done) to make things easier during this process. Hopefully, that will help bigtime. So, here we go...

Wait... why aren't we continuing with the overhead console? Well, partially for a reason, and partially because why the heck not? The reason is that we want to do as much drilling and cutting as we can to the cabin cover before fabricating the overhead console, so we have a better understanding of what's going to go where and how all the parts fit together (hinges, strut, etc). Also, I wanted to take some more time to get even more experience with fiberglass, and I'll probably make one or two little things here and there as side-projects in order to become more familiar with the process. This isn't something a person can learn overnight!

In the meantime, I also built a crude "oven" (it's more of a "warmer" really) for our assortment of West System Epoxy. It turns out that epoxy is very temperature-sensitive and works best when just above normal room temperatures, like in the 80F-90F range. Especially as we head into the winter months here, the garage is going to be at the "bare-minimum" epoxy curing temperatures of 65-70 degrees, so the warmer the epoxy is, the better. I got the idea to make the oven originally from reading Rutan's Moldless Composite Sandwich Aircraft Construction manual, which is a highly recommended book geared towards builders of the many fabulous composite Rutan aircraft (Long-EZ, Cozy, etc), but is also very helpful for us rivet-bangers when it comes time to make fairings or custom bits for our RV's. Then, I saw one of these ovens for the first time in real life at my friend Chad's place the other day and thought, man, I gotta have one of these! So, I built one:

The EZ-Bake Oven (pun intended)

Oven from the outside, with other fiberglass-related goodies assorted all around

The oven is made from 100% genuine recycled Mikey J Scrap Material and is by no means the strongest or prettiest thing in the garage, but it came out just fine, works great, and I'm happy with it. It measures 24"L x 16"H x 16"D and is made of 1/4" plywood (thicker would have been better), some 2x2's at the corners, and 2x4's reinforcing the door. It was then lined with 1/2" insulation board, and all the cracks filled liberally with Great Stuff spray foam. The heater element is a standard 100W light bulb, and the thermostat is a Honeywell CT-410B line voltage thermostat. There's also a cheapie thermometer in there to ensure everything is working properly. The thermostat was an interesting piece, it is only rated to go up to 85 degrees F, but I was able to modify it to go higher. It turns out that all you have to do is pop the knob off the front of it, and the remaining part of the shaft will turn farther than the 85 degree stop, and will heat to at least 95 degrees or better (that's as high as I tried, but there was still more to go on the dial). Awesome! Now all of our epoxy-- except for the 205 "Fast" hardener-- is stored and incubating at around 80 degrees... we'll go higher if/as needed.

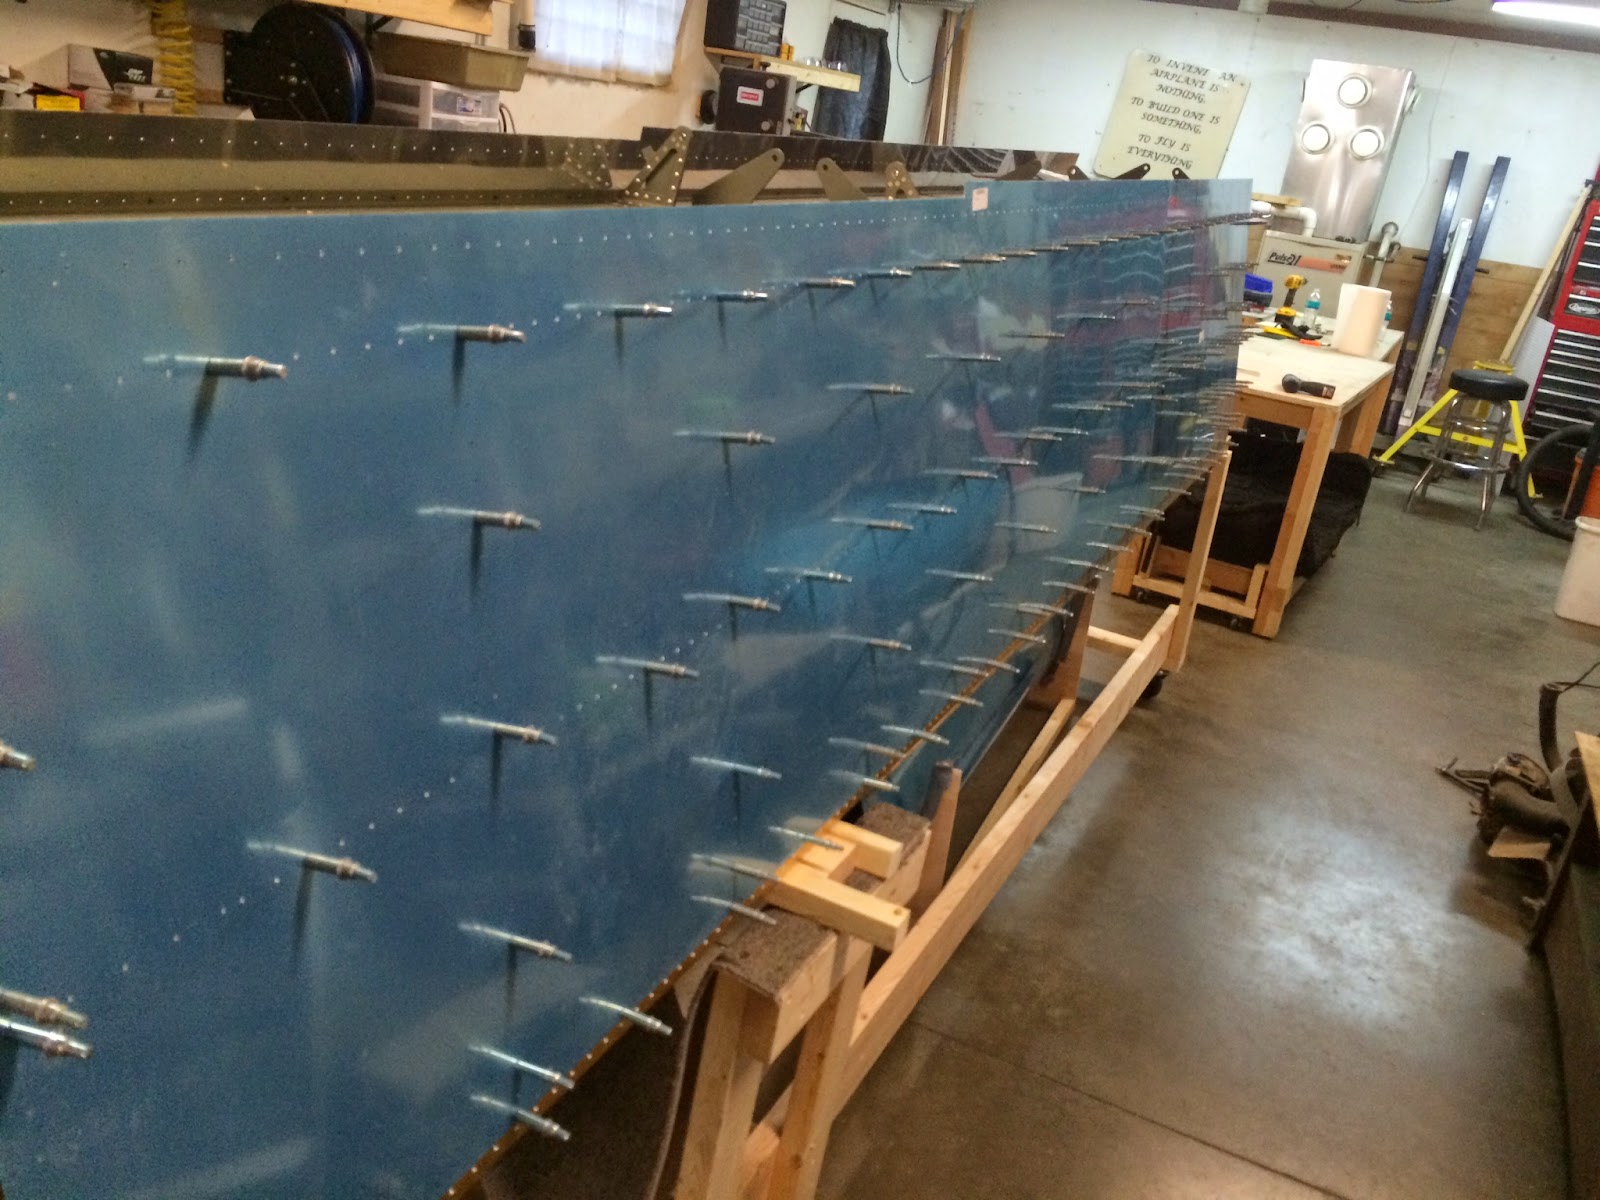
Now, on to the doors. We're going to start with the right door, and hopefully get to the point where the two halves are glued together, and then repeat with the left door. First thing to do is draw a couple lines around the window openings, and trim away the excess. Note: the plans aren't very clear about what exactly to trim, and the referenced figures show large crosshatched areas filled in around the door openings. Typically, this crosshatching in the plans means "cut this part away" although that is NOT the case here! Not very much trimming is needed at this time at all, just the middle of the window leaving a ~1-3/4" perimeter is fine. To draw the lines, I made a little "tab" out of scrap aluminum and drilled holes at the 3/4" mark and the 1-1/4" mark.

Measuring tab to aid in drawing spacing lines

3/4" and 1-1/4" lines drawn around the window opening. Another 1-3/4" line was drawn later and rough cuts were made along that line.

So far so good! Next we drilled a few index holes and sanded the inside surfaces (referred to as the "bag" side of the parts) where they will mate. The idea is to glue the door halves to each other while they are still oversize and can be laid over and clamped to the side of the fuselage. This way, the doors will match the contour of the fuselage exactly, and can then be trimmed to perfectly fit inside the door opening. Before long, we had the assembly clecoed to the side of the plane using the two index holes!

R Door laid over the cabin top for the first time, and a happy Sarah!

R Door from the inside

Neat! Next, we match-drilled a number of additional holes around the perimeter of the door. The holes along the bottom third of the door (that overlap the metal side skins) required use of a hole finder to match-drill into the holes previously left un-riveted in Section 29. I had always wondered why they had us leave those holes open... now I get it!

#40 Hole finder being used to match-drill the open holes in the side skins

Then, we departed from the plans and joined with several other folks who had a pretty smart idea to match-drill clecos just like this all the way around the rest of the door to hold it just perfect in place and shape. The holes will be easily filled later with some micro or flox, and if all goes well you'll never be able to tell we drilled a bunch of holes all around the door openings.

R Door match-drilled to fuselage

Close-up of upper aft side of door, formed perfectly to the cabin top

This is kind of cool! Now, everything has to come back apart and we have a few more steps to complete before epoxying the two halves together for good! I think I want to run a small conduit down the inside, as well as shoot some Great Stuff insulation into all the voids. We'll get to this hopefully this weekend!


Saturday, April 4, 2015

Fuel Tanks/New Toy!


Got the EZ-Burrs in the mail today! WOW these things are awesome. After one day using them, I'm hooked. Out of the box, the blade height has to be adjusted slightly to achieve the desired spring pressure (it's a simple allen screw adjustment). What seemed to work best was setting it so that there is a slight amount of resistance felt by the drill when the blade makes contact with the hole, in both directions. There is definitely a short but necessary learning curve in proper technique, too. You can't just blaze through the hole in both directions-- the blade won't have time to do its job. It takes just the right amount of control and finesse with the drill to have the blade make contact for a few turns of the drill, and then poke through to the other side. Then the same sort of controlled pull on the way back through. After a few dozen holes it became quite simple, averaging maybe 2 seconds (at most) per hole. Speedy!


The 2.5mm EZ-Burr for #40 holes

Using this new device, we made *very* quick work out of deburring the tank skins, ribs, and stiffeners. I dare say, the holes came out better and smoother than our old deburring method, in less than half the time! Did I say I was hooked?

After deburring, I went ahead and masked off all the rivet lines on the inside of the tank for some "targeted scuffing" to help the proseal stick better. This took waaay more time than I thought it would, especially after cruising through the whole deburring process. But, we ended up with some pretty neat patterns in the skins:

Tank skin masked off for scuffing


After a visit with some Scotchbrite


With that, we got right on to dimpling the skins. Most of the holes are #40, although there are six #30 holes that we made for the fuel caps (non-standard) and then a series of #8 screw holes around the perimeter of the skins. All needed to be dimpled (except for a few called out in the plans), so we went three rounds with the three different size dies. It actually went quite well... woo!

Now that the dimpling is complete, it's proseal time!!! Had to clean up the shop a bit in preparation for the process, including lining two of our tables with paper and getting out the gloves, popsicle sticks, MEK, and acetone.

The proseal station!

Tomorrow.... proseal!!!!


Thursday, April 2, 2015

Fuel Tanks

Finished final/match drilling both tanks and completed the countersinking portion of the tank skins. No pics, because everything looks pretty much the same as it did earlier. Then we got started on the painful deburring process. Actually, we're putting off deburring most of the holes because we had a good friend and fellow RV-10 builder recommend a new tool I had somehow previously never heard of... something called an EZ-Burr (or competing brand Burr-away). The brand names sure sound promising! Basically, they are smooth pin-shaped bits about the diameter of the hole you're deburring, with a single spring-loaded blade protruding out from the shaft. The blade has a 45-degree edge on both the top and bottom ends. The way it works is, you run the drill down through the hole until the blade makes contact with the edge of the hole, and the bottom end of the blade deburrs the top side of the hole. As you continue into the hole, the blade compresses into the bit and allows the drill to go all the way through the hole to the other side, and then the blade pops back out. Then, with the drill still running, you can pull the bit back through the hole, this time deburring the bottom side of the hole with the top side of the blade. Brilliant!

Stock photo of the EZ-Burr bit I ordered

Between the EZ-Burr brand and the Cogsdill brand Burr-away, I decided on the EZ-Burr because it seemed to get better reviews about the design and ability to change the blades (allen screw vs. micro-size roll pin). Lots of options exist for diameter, blade angle, and rake angle, but I found an older post in the forums from an EZ-Burr rep who stated positive rake and 45/45 angles are ideal for the aluminum sheet we deal with. Also, 3/32" is a little too small for #40, but they also make a 2.5mm (0.0984") model that is best suited for #40. All of this research ended up with me ordering  EZ-Burr models #EZL0098-02 for #40 holes, and #EZL0125-02 for #30 holes, along with a 6-pack of replacement blades that are compatible with both bit sizes. These things were NOT cheap, so hopefully they are the correct ones and work as advertised! If they do, I think they'll be well worth the cost in terms of time saved.

Anyway, other than that we're just slowly chunking away at the fuel tanks. Maybe we'll be ready for Proseal this weekend!

Sunday, March 15, 2015

Wings

Started off this morning not working on the plane directly, but wanted to make some improvements to my dimpling tool. When we started this project, I decided I wanted to make my own C-frame dimpler embedded into the work table. I've seen the commercially available ones, and of course the DRDT-2, but for me I couldn't justify the cost if it didn't do 'exactly' what I wanted. So... I got to work on an idea I had a while back to make the best dimpling device ever. If I failed, I told myself I'd just break down and get a DRDT. To my own surprise, I think I succeeded! Total cost? $0.00! An aviation first! :-)

The idea was to attach an air hammer (or rivet gun) to a swinging arm that could go up and down towards the very edge of the workbench. On the gun would be the male half of a dimple die, and then the other half of the die would be placed into a very heavy steel block, slightly recessed into the work table at the very edge. This way, the dimpler can accommodate very large sheets (i.e. wing skins) and process them very quickly and consistently, since the air hammer will always be held straight and level by the swinging arm. Also, since the lower block is embedded into the edge of the table, it will be perfect for dimpling the leading edge curves using the gun and dimple die by hand.

The dimpler was built using some leftover 1" x 1" square steel stock from the first dimpler, some angle iron, steel plate, hose clamps, and an old air hammer that I've had for a while and still works great. It felt very MacGyver-ish, only I didn't need to use a paper clip or duct tape. The air hammer isn't as "precise" to control as the rivet gun, i.e. there aren't numbers printed on the air control valve but otherwise I still can't tell the difference between the two for the life of me, other than the price (Maybe that's what the "3x" means? ;-)). Anyway the air hammer is perfect for this. I test-ran it on some scrap running the gun at 35-40psi with a 1-second or so burst and the dimples came out 100% perfectly coined! I think if someone wanted to go out and buy all the parts new for this they'd spend less than $50. Here's the completed setup:

Some steel stock, angle iron, and hose clamps and a couple bolts attach the gun to the swinging arm.


The gun, arm, and attachment to the table. It does have some side-side slop, but as long as you don't really torque on it, it is quite easy to line up with the die. You can also see the patch job I did to cover the previous hole where the old C-frame dimpler was set up. Not the prettiest, but it works.

Straight and level from all angles. I put black carpet over the lower block because it was an ugly mess of steel bars and cut-up 2x4's, this makes it look a lot better.

When you're not using the dimpler, you can swing it up and out of the way. I should probably put some sort of up-lock on it so that it doesnt get bumped and come crashing down. Maybe a spring too. We'll do that in v2.0.


Anyway, on to the actual work for the skins. We final-drilled all the holes in the top skins, and I also countersunk/dimpled the areas of the top skin that needed to be while still on the wing. No pics, since it pretty much looks the same as it did yesterday. Towards the very end of the day, I was able to pull the L top skins back off the wing for the exciting task of deburring/dimpling. I got through the wing walk doublers and the inner skin (the smaller of the two), and decided to call it a night. Good news though, the dimpler works perfectly!

The MikeyJ-2000 dimpler in action on the W-1002 top wing skin!

Dimpled, scuffed, and ready for priming!

And that's all for this weekend, folks! Hopefully this week we'll get through the top skins on both sides and be ready to tackle the leading edge!


Saturday, March 14, 2015

Wings

Some real progress today! Primed, assembled and riveted the rear main spar for the L wing per the plans (15-4 step 4). This involved leaving a line of rivets out along the lower-middle of the spar for later attachment of the gap fairings. Other than that, this completes the skeleton structure of the left wing! In the meantime, Sarah got to work starting Section 15 on the right wing, match-drilling and assembling the 5 pieces of the rear spar. Well, 4 pieces... we're proceeding without the W-1007D/I piece for now until it arrives.

The W-1007B/C spar doubler (most inboard)

The W-1007D/I spar doubler

The W-1007D/O spar doubler with W-1013-L aileron attach bracket

The W-1007E spar doubler

Got some new toys in the mail today too! Got my shipment from Cleaveland tools which included a handheld back-rivet bucking bar and long back-rivet set to use on the wing top skins, Also got a new drill... being a DeWalt guy myself, I've come to realize 90% of the drilling we do does not require a bulky, heavy, powerful drill... small and lightweight is good especially when you have a million tiny holes to drill. So we got a Bosch PS31-2A. Seems to fit the bill perfectly!

The back-rivet bucking bar from Cleaveland Tool. Beefy! Can't wait to give it a try.

The diminutive and lightweight Bosch drill. It works perfectly for the majority of our drilling needs!

The last thing we got in the mail today was a surprise indeed... the W-1007D doubler I had reordered from Van's! I was sure that it would take longer than this to arrive, but this is great news. We'll be able to finish up the rear spar on the right wing now!

After finishing the L rear spar, I got to work on Section 16 for the top skins. This was exciting to me because it's the first skin-related step since working on the tailcone. Also, clecoing skins into place is usually pretty fun and goes quickly, with a dramatic change in appearance:

The two W-1027A/B wing walk doublers fit unto place underneath the top skin

The W-1002 inboard top skin, clecoed in place over the doublers (also Sarah final-drilling the rear spar on the R wing)


The (L) top skins clecoed into place

Once Sarah finished match-drilling, we decided instead of disassembling everything now in order to go back and make the W-1007D/I doubler to just leave everything clecoed into place and start on the top skins too. So, after a bit of clecoing, we had the top skins in place for the right wing too!

The (R) top skins clecoed into place

Inboard view of the wings

Outboard view of the wings

Good stopping point for today! Tomorrow we'll start the laborious and non-photogenic task of final-drilling the 500 or so holes in the skins... maybe some deburring and dimpling too, we'll see!


Thursday, March 12, 2015

Wings

Lots of progress today! First, I got the tungsten bucking bar I ordered from Midwest Tungsten... regular ground shipping from IL, it was door-to-door in less than 24 hours... nice! And holy crap it's tiny and really heavy!! I think I finally understand why tungsten is so desirable for use in a bucking bar... duh. Wish I had bought one sooner, they are just so darn expensive compared to steel I just never justified the cost. Advice to future builders: buy one sooner than later, the more rivets you buck with it, the more money you'll get out of it. Also, it's way easier to make a clean-looking, flush rivet since it will be less prone to wander while you're riveting. Just don't drop it on your toe.

This lil' guy bucks rivets better than the steel bars I have that are twice this size! I might buy one or two more now that I'm sold... hey it's only money right? Ha.

Also my Duckworks "lampless" landing light install kits arrived! I'm planning on putting a light in each wing, but I want to use my own design for lights so this kit seemed like the perfect thing. I'm excited to install them!

Anyway, on to the wings. Did basically the same thing to the right wing today that we did to the left wing yesterday, more as a team effort this time. Originally I think the plan was for Sarah to do the right wing with me doing the left wing, but so many parts just go so much easier with two people and four hands instead of us both struggling separately on our own things. We'll see how this new paradigm works :-)

The assembled wing spars and ribs, both sides complete!

View from the wingtip side, you can see rib #15 is only clecoed into place so far (we'll need to remove it for later access before finally riveting it into place)


I also found some time to continue on the L wing rear spar. It turned out yesterdays boo-boo on the W-1007D piece was actually double-wrong... not only did I drill the wrong part, it was also upside down and backwards! So it's completely useless, can't turn it into the shorter E part. No big deal, just frustrating to see such a careless mistake. At least it was a $3 piece. Anyway, got all 5 pieces drilled and deburred for the L wing:
The W-1007 E, D-O, D-I, C, and B pieces after drilling

The rear spar clecoed into place with all hinges and doublers

The inner aileron hinge bracket clecoed to the rear spar

View of the rear spar

Tomorrow we probably won't be building much but hopefully this weekend we'll be able to get started on the R rear spar (as much as we can while we're still missing one of the doublers) and maybe start on the top skins... exciting!