Before I get to the fiberglass, a quick note on the engine. I believe I've mentioned in the past that one of the parts of this build that I was excited about the most was overhauling/building the engine myself. Being a "car guy" and having overhauled many car engines in the past, I was very excited about the prospect of doing the same on the RV-10. However, as time has gone on and we've made it this far, a thought started to occur to me that maybe it would be a better idea to let the pros handle this. I mean after all, with all the time, money, blood, sweat and yes tears put into this project so far, why put the whole project in jeopardy by attempting to do the engine myself? Although these Lycoming engines are quite simple in design, anyone familiar with them will tell you there are a surprising number of gotchas and tricks-of-the-trade that only the professionals who do this every day really know how to handle.
And even the pros have trouble sometimes! I became familiar with a situation not too long ago involving a locally-owned airplane having some engine trouble at an airport a few hundred miles away. Luckily the pilot fought the urge to "get home and check it out" and decided to stay on the ground, quickly realizing that the engine actually had a major issue, requiring a complete and immediate overhaul. The engine was a mid-time Lycoming that had been previously overhauled by a top-notch and very experienced mechanic. I personally saw the look of disappointment and confusion on his face when he heard the news. It's very likely that the problem had nothing to do directly with the quality of work that he performed, but even so, his look and attitude towards that situation certainly left an impression.
I tell that story because that was sort of the beginning of the end for me with respect to building the engine myself. The more I thought about it, the more I became certain that this was a task best handed off to someone more experienced and capable. So, I called around to a few places and have made plans to bring my setup to Poplar Grove Airmotive in Poplar Grove, IL. They are a well-respected engine overhaul shop and come highly recommended by several pilot friends who have used their engine overhaul services. They quoted me what seems to be a fair price for engine assembly and dyno testing, and hopefully what I get back from them will be a zero-time, fully airworthy and reliable engine ready to perform for us.
So in preparation for sending the engine into their shop, I've placed a few orders for the parts I still need to make this engine complete. These include bearings, gaskets, hoses, nuts and bolts, as well as some additional components. Some of the bigger-ticket items include the starter and two B&C alternators (BC460-H and BC462-3H), as well as overhauling the fuel servo, fuel pump and flow divider by Airflow Performance. Hopefully, I'll have a complete stack of parts ready to go by the end of the month, and I can haul it all over to IL to get that process started!
In the meantime, we're continuing with our work on fiberglass. I started making the center console/quadrant/armrest, and tried to take a few pictures along the way:
NOTE: It will be painfully obvious that the design of this console is "inspired" by the new Aerosport "Quad Console" armrest... it can probably best be described as a poor-man's homemade version of it. Hopefully it will be just as functional and

Spent many DAYS making a foam "plug" that will be used to make the center console.

Random photo of the adhesive being used to bond the foam: Glidden Gripper primer! I found this trick from watching a youtube video where several different adhesives were used for comparison. Many traditional adhesives will actually melt the foam and can't be used, leaving few alternatives that actually make a good bond... this stuff works great, and cleanup is painless!
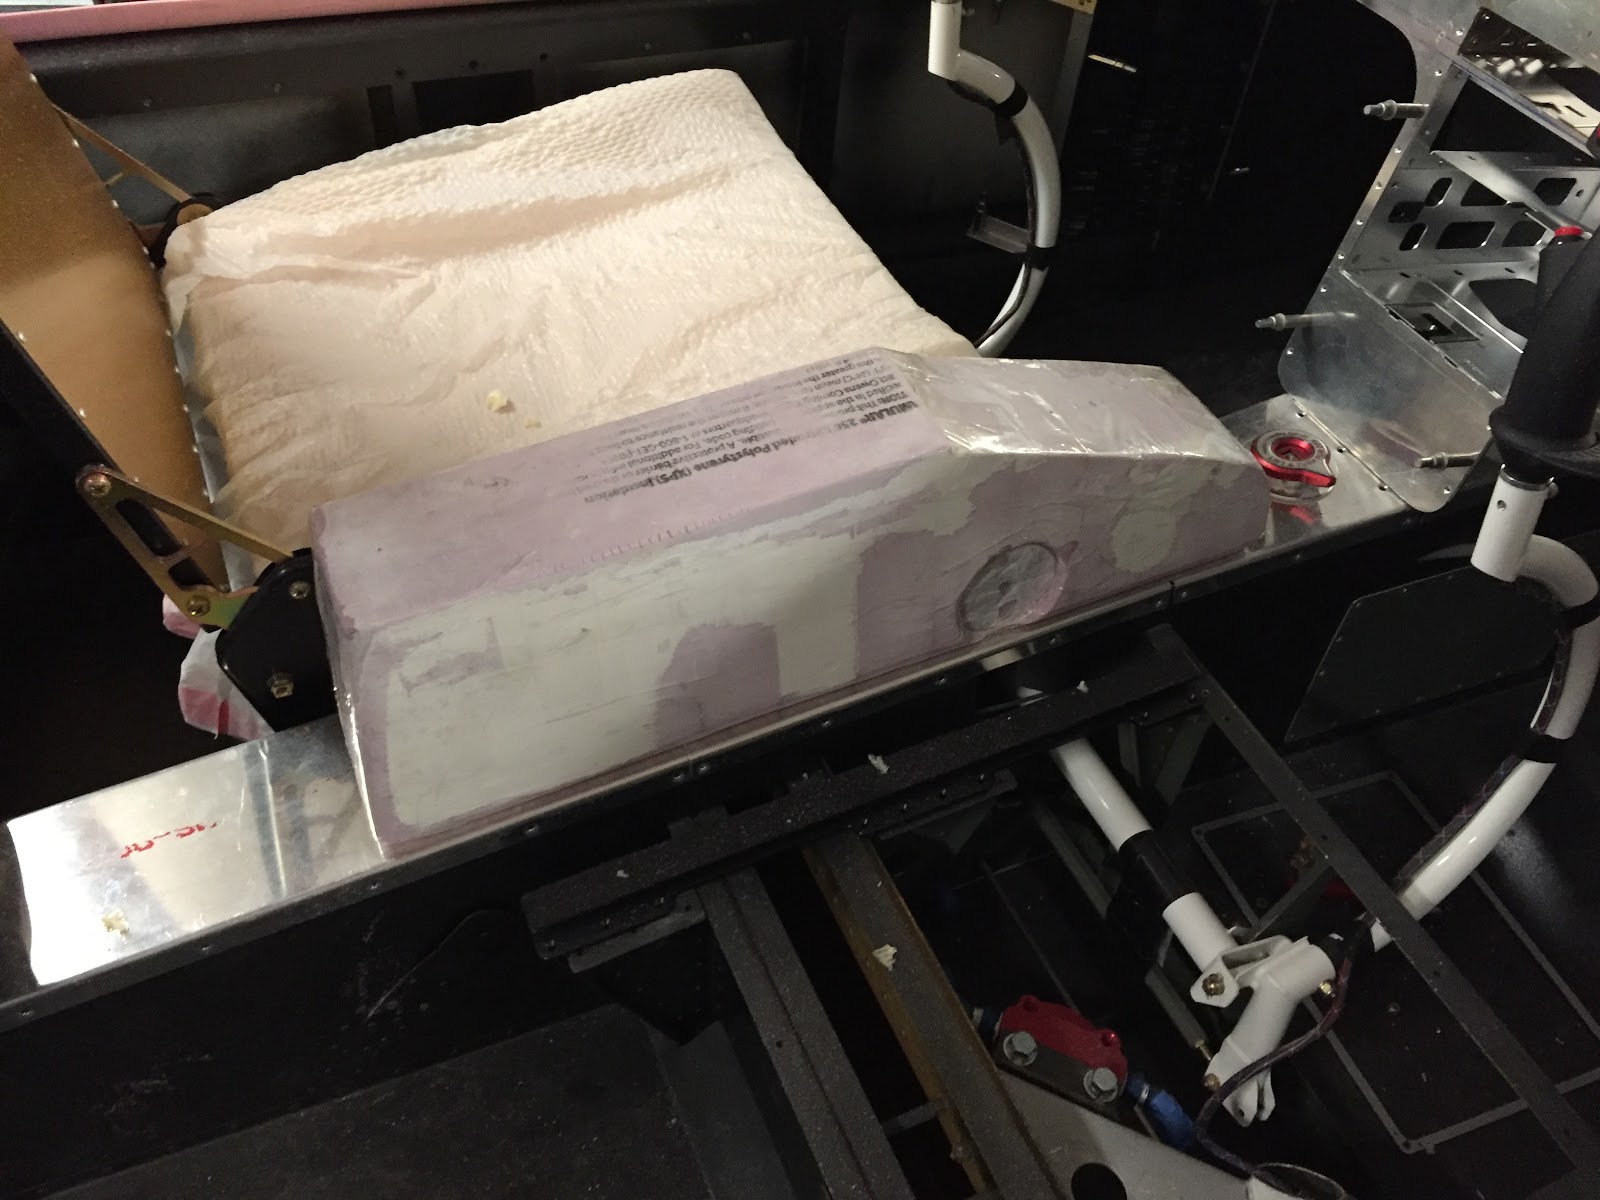
Approximate location on the tunnel. The throttle quadrant will be in the slanted forward part, and there will be a padded armrest cover that opens into a storage box (big enough to hold a sectional chart!) inside the main area.

After layups and initial trim: The console is made in two separate halves, one slightly overlapping the other, so that they can be removed from the plug and then bonded together as a hollow piece.

The first few clecos being installed to clamp it together for bonding
Since these photos were taken, the console has been bonded together, sanded, filled, and then cutouts have been made in the top, front and back for various panels and openings. It's coming together, but man this isn't something that can just be built in a day.
Other parts coming along are the "A-pillars" in the cabin cover, which I've successfully run conduit through and sealed in place with spray foam. I shaped the foam to approximate what I wanted and then put a single layup over it. This has resulted in an EXTREMELY wavy base layer, on top of which I will need to fill and sand everything to become smooth and properly contoured. I'll try and post some photos of that endeavor next time.
We have some plans coming up over the next week or two, so I wouldn't count on much work getting done on the plane until maybe after Valentine's day or so... but I will keep trying to find some time to post updates!
No comments:
Post a Comment