Tuesday, February 23, 2016

Back To The Grind

Decent progress this last week, I guess. I'm finding that it's harder to gauge how far things are coming along with fiberglass work, because it's much more of a subjective art form than it is a concrete, step-by-step process. I think I'm much more of a step-by-step kinda guy.

We've continued with the A-pillars in the cabin cover, filling and sanding, filling and sanding. Complex curves are tough, but we've found out that using the right sanding block is the key to it. I made a sanding block out of a piece of 2" PVC pipe that is about 6" long, and hold it at about a 45-degree angle to the curve of the A-pillar. In this way, the roughness of the filler slowly sands away to become smooth with the natural curvature of the pillar.

The A-pillars, maybe about halfway done sanding and filling

We also final-attached the vent ducting to the cabin cover yesterday. This was kind of a benchmark step, since it had to be done before we can design and layup the overhead console itself, which will cover most of the ducting you can see now. It will also enable me to continue with the switch pod, and get everything to play nicely together. Lastly, we can also start on the B-pillar closeouts, which will be a similar process to what we're doing with the A-pillars, although hopefully not as difficult.

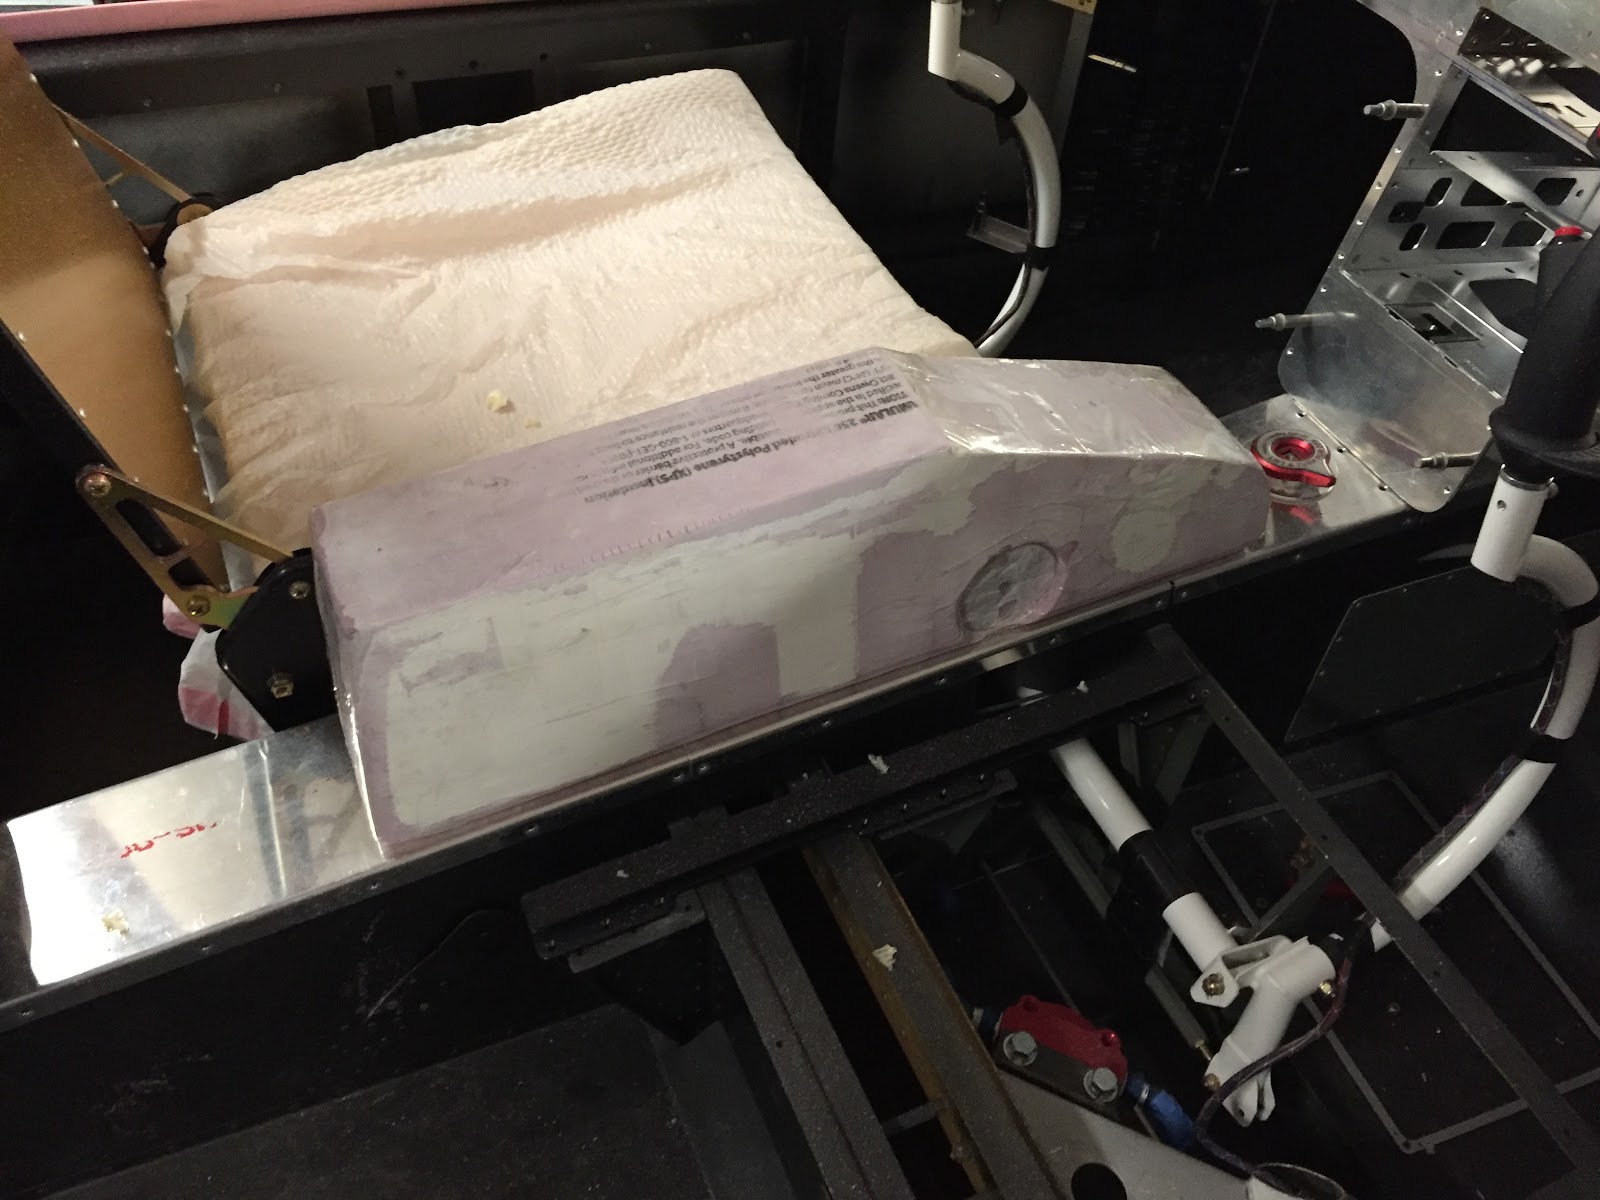
The vent ducting final-attached to the cabin cover. You can also see the spray foam making the general (initial) shape for the B-pillar closeouts

That's pretty much it on the fiberglassing front. In other news, I've done a bit more work in the tailcone area as well. I've attached the master and crossover solenoids to the battery mount, and re-made the yaw damper servo mount out of a slightly bigger sheet of aluminum, allowing me to mount the Garmin GDL-39R receiver next to the yaw damper servo.

Yaw damper servo (right bottom), Pitch servo (right top), GDL-39R (center), crossover solenoid (left)

Battery tray and master solenoid (left), crossover solenoid (right)

It came out pretty good so far! I'm excited to start wiring this stuff up. I did make my first RG400 BNC cable too, connecting the GDL39R to the TED transponder antenna located in the free area just aft of the elevator bellcrank. I watched a youtube video from SteinAir found at this link: https://www.youtube.com/watch?v=xPyLeBIcf9c, and it was really not a whole lot different than crimping standard household RG6 cable, other than using a slightly different crimper and the need to crimp a pin to the center conductor. The principle is pretty much the same though. I look forward to making the 10-20 more BNC cables necessary for the rest of the airplane!

Lastly, I had a question from a fellow RV-10 builder about the battery tray that I modified, so I'll describe what and why I did stray from the original Vans design F-1035 Battery mount.

The F-1035 battery mount is designed for a single Concorde RG-25XC battery, which has a footprint of 7.5" x 5". Many folks prefer to use an Odyssey PC925, which has a footprint of 7.05" x 6.64". Lastly, folks that run a dual-battery system typically install two Odyssey PC680's, each with a footprint of 7.15" x 3". Since I'm planning on having a "true dual" electrical system on this airplane, I'd like to go with the last option. However, I wanted to design a battery tray that would still have some flexibility in its design, in case someday I want to go back to a single battery setup, or maybe even move one of the two batteries up front for CG purposes.

After tossing around this idea for a bit, I decided to modify the factory mount to be 7-1/4" wide and 7-1/2" long, with provisions to attach a small 3/4-wide aluminum angle divider in the center (pictured above) and/or at the back. In this way, I can install two PC680's with a 3/4" gap in the middle and a 3/4" barrier in the back; a single PC925 with a 3/4" barrier in the back; or a RG-25XC in the original lengthwise configuration. There is an additional 3/8" nutplate installed between the two original 3/8" nutplates, so that I can attach a third hold-down bolt in that location to help keep everything secured and properly spaced.

The tray was modified by cutting off the side walls and taking some extra pieces of aluminum sheet and 1/8" angle pieces to make some extensions to "patch" into the existing part. You can see the two double rows of rivets in the photo above where the seam is. All in all, I'm very happy with how it has turned out, however I haven't yet actually installed any batteries, so the jury is still out as to whether or not it will work as I expect!

Hopefully that helps answer the question about the battery tray. Next post will likely be from back in fiberglassing hell! :-)


Wednesday, February 17, 2016

Gulf Coast Trip

So we just got back from an 11-day trip down to Florida to visit my parents, followed by a stop in the New Orleans area to visit some of Sarah's family on the way back home. We flew our old standby, "Julie" the Archer, and had an awesome time! Keeping the trip summary geared towards RV-10 and experimentals, here are a few highlights:

We stopped over in Vero Beach, FL for the day to visit our RV-10 builder friend Kenny (sometimes known as "Falcon Guy"... a Falcon 900 pilot by day and RV-10 builder by night). It was awesome to meet him in person and see his project (and the Falcon!). Thanks for all your hospitality Kenny, not only to Sarah and I but to my parents also who were "in-tow" for the trip!

We also were able to visit our EAA Chapter 33 friends Ron and Connie, who were escaping the Iowa winter in a more pleasant area. We were able to track them down in Gulf Shores, AL and had a quick lunch with them while passing through the area. Good times!

We had hoped to have even more time to make a few more stops to see friends, both old and new, but unfortunately there's just never enough time. It was still an incredible trip and excellent reminder about why we love to fly so much!


Route flown (link here)

Random photo from the flight - here we are near Tampa FL, cleared to pass through the Class B airspace.

Team Mikey J and Sarah Maggie sporting our Vans-related gear :-)

It was good to visit my folks in FL... here we are at Sun Harvest Citrus buying some oranges and grapefruit to bring back to IA!

Spent some time with Sarah's brother and sister-in-law in New Orleans... missed Mardi Gras by less than a week! It was still a great time on Bourbon St.

Bottom line: We can't wait to take more trips like this in the faster and more capable RV-10! We absolutely love Julie the Archer, and we will certainly miss her when we start flying the -10, but we're ready for the change. In fact, this may very well have been our last "big" cross-country trip in Julie. We first took her to the west coast in 2013, then to the east coast in 2014, and now the gulf coast in early 2016. Fingers crossed we'll get to repeat these same trips (and many others) in the -10, and soon(ish)!

In order for that to happen, we've gotta keep our noses to the grinding wheel... or at least, if not our noses, some airplane part that is in need of grinding...


Thursday, February 4, 2016

Engine Update - More Fiberglass

So I've been pretty consistently lazy with updating the blog lately, sorry about that. I guess it isn't as fun spending days and days doing layups, sanding, filling, sanding, filling, doing more layups, sanding, filling, then throwing the whole thing away and starting over.... haha. But we're learning. There just isn't that much that's happened yet that makes for an interesting blog post, which I feel is somewhat in contrast to the progress we sometimes make following along in the plans and completing all the steps in order. I feel like I haven't even looked at the plans at all in at least a month now!

Before I get to the fiberglass, a quick note on the engine. I believe I've mentioned in the past that one of the parts of this build that I was excited about the most was overhauling/building the engine myself. Being a "car guy" and having overhauled many car engines in the past, I was very excited about the prospect of doing the same on the RV-10. However, as time has gone on and we've made it this far, a thought started to occur to me that maybe it would be a better idea to let the pros handle this. I mean after all, with all the time, money, blood, sweat and yes tears put into this project so far, why put the whole project in jeopardy by attempting to do the engine myself? Although these Lycoming engines are quite simple in design, anyone familiar with them will tell you there are a surprising number of gotchas and tricks-of-the-trade that only the professionals who do this every day really know how to handle.

And even the pros have trouble sometimes! I became familiar with a situation not too long ago involving a locally-owned airplane having some engine trouble at an airport a few hundred miles away. Luckily the pilot fought the urge to "get home and check it out" and decided to stay on the ground, quickly realizing that the engine actually had a major issue, requiring a complete and immediate overhaul. The engine was a mid-time Lycoming that had been previously overhauled by a top-notch and very experienced mechanic. I personally saw the look of disappointment and confusion on his face when he heard the news. It's very likely that the problem had nothing to do directly with the quality of work that he performed, but even so, his look and attitude towards that situation certainly left an impression.

I tell that story because that was sort of the beginning of the end for me with respect to building the engine myself. The more I thought about it, the more I became certain that this was a task best handed off to someone more experienced and capable. So, I called around to a few places and have made plans to bring my setup to Poplar Grove Airmotive in Poplar Grove, IL. They are a well-respected engine overhaul shop and come highly recommended by several pilot friends who have used their engine overhaul services. They quoted me what seems to be a fair price for engine assembly and dyno testing, and hopefully what I get back from them will be a zero-time, fully airworthy and reliable engine ready to perform for us.

So in preparation for sending the engine into their shop, I've placed a few orders for the parts I still need to make this engine complete. These include bearings, gaskets, hoses, nuts and bolts, as well as some additional components. Some of the bigger-ticket items include the starter and two B&C alternators (BC460-H and BC462-3H), as well as overhauling the fuel servo, fuel pump and flow divider by Airflow Performance. Hopefully, I'll have a complete stack of parts ready to go by the end of the month, and I can haul it all over to IL to get that process started!

In the meantime, we're continuing with our work on fiberglass. I started making the center console/quadrant/armrest, and tried to take a few pictures along the way:

NOTE: It will be painfully obvious that the design of this console is "inspired" by the new Aerosport "Quad Console" armrest... it can probably best be described as a poor-man's homemade version of it. Hopefully it will be just as functional and just nearly as pretty when complete!

Spent many DAYS making a foam "plug" that will be used to make the center console.

Random photo of the adhesive being used to bond the foam: Glidden Gripper primer! I found this trick from watching a youtube video where several different adhesives were used for comparison. Many traditional adhesives will actually melt the foam and can't be used, leaving few alternatives that actually make a good bond... this stuff works great, and cleanup is painless!


Approximate location on the tunnel. The throttle quadrant will be in the slanted forward part, and there will be a padded armrest cover that opens into a storage box (big enough to hold a sectional chart!) inside the main area.


After layups and initial trim: The console is made in two separate halves, one slightly overlapping the other, so that they can be removed from the plug and then bonded together as a hollow piece.

The first few clecos being installed to clamp it together for bonding

Since these photos were taken, the console has been bonded together, sanded, filled, and then cutouts have been made in the top, front and back for various panels and openings. It's coming together, but man this isn't something that can just be built in a day.

Other parts coming along are the "A-pillars" in the cabin cover, which I've successfully run conduit through and sealed in place with spray foam. I shaped the foam to approximate what I wanted and then put a single layup over it. This has resulted in an EXTREMELY wavy base layer, on top of which I will need to fill and sand everything to become smooth and properly contoured. I'll try and post some photos of that endeavor next time.

We have some plans coming up over the next week or two, so I wouldn't count on much work getting done on the plane until maybe after Valentine's day or so... but I will keep trying to find some time to post updates!