
L Fwd Fuse rib and nose gear tension fitting

L Fwd Fuse Rib subassembly, prior to firewall attachment

Firewall assembly, R aft side

Firewall assembly, aft side

Firewall assembly, L aft side

Firewall assembly, front side
Once this assembly was finished, it became possible to start assembling the entire Fwd Fuse section, including the Fwd Bottom Skin and floor stiffeners. The majority of these parts could be back-riveted using the embedded backing plate I have in one of my worktables, which makes for quick and consistent work and almost guarantees clean-looking rivets in the finished product. The only thing that made it (only slightly) more difficult was that Van's seemed to accidentally omit the rivet size callouts in the diagram... thanks!!

The legend in this section of the plans showing the rivet callouts... missing 3 of the 4 sizes... oops!
Early on in the "empennage days" this would have almost certainly meant a phone call to Van's, if only to double-check. However, now that we're this far along with the airplane it wasn't that big of a deal at all, and we knew just what size of rivets belong in each place based on the materials being used (also, to be fair the symbols tend to be consistent--but not always--for the rivet sizes). For anyone interested, from top-to-bottom the sizes go AN426AD3-5 (shown), AN426AD3-4.5, AN426AD3-4, and AN426AD3-3.5.

Fwd Bottom Skin with floor stiffeners installed, L side
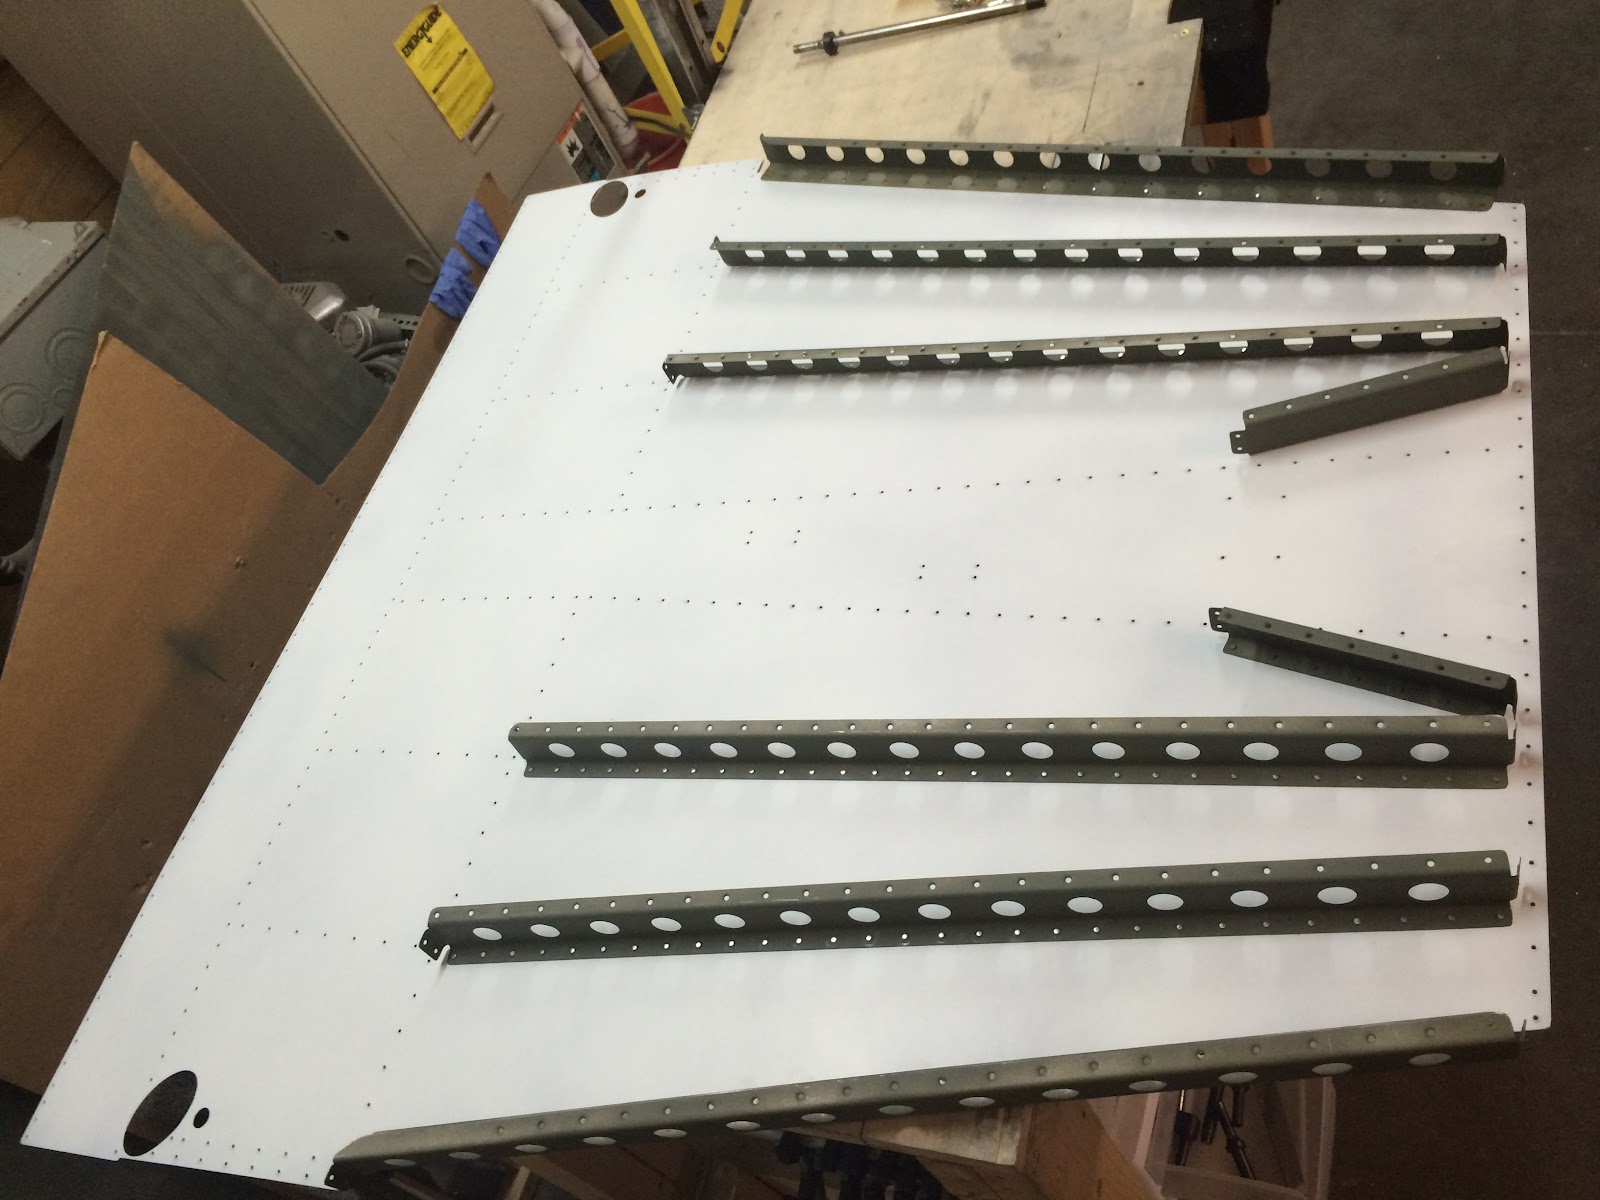
Fwd Bottom Skin with floor stiffeners installed, R side
With the rivet-size-conundrum and back-riveting session behind us, it was time to join this bottom skin assembly to the firewall assembly with a few more rows of rivets. These were a bit more difficult to back-rivet because it was hard to get a particular row to sit perfectly flat on the riveting plate. I ended up attempting to do this but a number of the rivets didn't set properly and ended up sitting proud. This made for a mildly frustrating drill-out session (maybe 10 rivets) followed by re-doing them using the two-person back-rivet method (Sarah had gotten home from work by this point), similar to how the wing top skins were done.

Firewall and bottom skin riveted together

Firewall and bottom skin riveted together, R side

Firewall and bottom skin riveted together, L side
At this point, we are ready to install the center section bulkheads and mate the Fwd and Mid fuselage sections together... but it's getting late and this is most certainly enough progress for one day! Hopefully we can keep this pace up over the rest of the weekend!