
She's on her own feet for the first time! (albeit with temporary shoes... err maybe wooden clogs)

Presenting the RV-10 taildragger!
The front legs are basically just 16" long 2x6's with holes match-drilled for one big and one small hole in the center section bulkhead. Basically working from inboard to outboard, the holes go "SBBS": I have one small and one big wing attach bolt in positions #1 and #3, and then these 2x6's are attached at positions #2 and #4. I had to scoop out little reliefs on the inside faces of the 2x6's to make room for the wing attach bolt heads, which took a bit of time and head-scratching, but I eventually prevailed using a bit I had laying around from when I made my computer desk in the drill press: the kind of bit you use to install recessed hinges in cabinet doors.
Hardware-wise, I used 4x 1/2" x 8" bolts in the "big" holes and 4x 5/16" x 8" bolts in the "small" holes. I had originally bought 3/8" bolts for the small holes, but silly me, they were too big. In the photos above, I hadn't yet made the exchange so you only see the big bolts in place.
For the tail wheel, I padded some 2x6's to hug the end of the tailcone, and ran a single 3/8" bolt up into the tie down hole, tightened only to be "snug". It worked but it wasn't super stable if you put a lot of weight in the tail, so I ended up rigging a little 2x4 arm to come forward and rest against the bottom skin a foot or two ahead of the attach point. The arm is held tight against the bottom skin with a tiedown strap. A little ghetto but hey it works. And there you have it!
At about this time, Sarah came out and we finished riveting the bottom rivets between the tailcone and fuselage. That puts an end to Section 32... yay! I'm liking these few-day-long sections as opposed to the few-week-long sections like 29. :-)
Next on the agenda was the Upper Forward Fuse assembly, Section 31. This section is relatively straightforward and starts off like many of the other sections fabricating some small aluminum pieces for who-knows-what and then as you start to cleco things together it all starts to make sense. I snapped a photo of the first step:

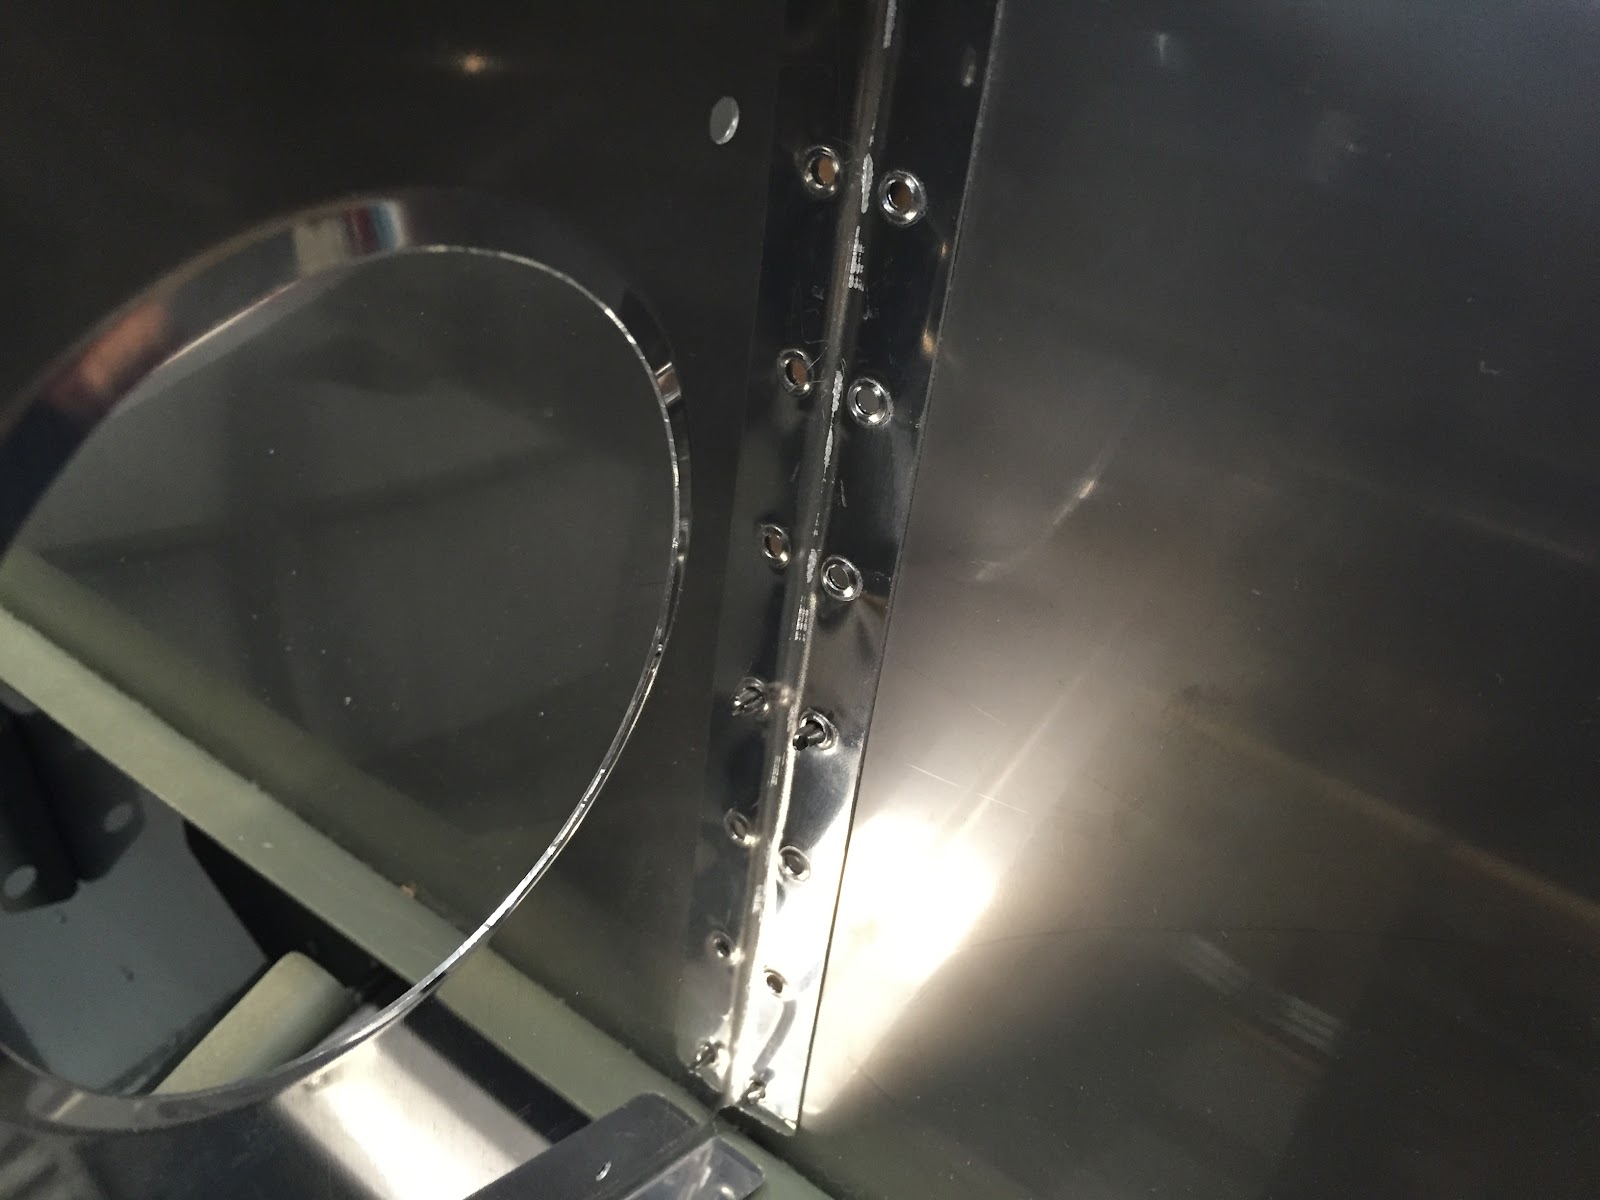
The F-1044C Spacer - And my feet.
Interestingly, this piece that I fabricated played a co-starring role in a minor goof-up I had today. As you begin to assemble the different pieces, there was one kind of odd thing they have you do, which is to match-drill the F-1044B angle into a brace on the firewall by drilling "up" through the firewall recess (they first have you drill a pilot hole "down" from the brace through the recess). Kind of an interesting process. Anyway, the goof-up was that I forgot to put the F-1044C spacer that I had just so proudly fabricated into place, so the hole drilled through the F-1044B angle isn't in the correct location. Oops! I'll have to toss the piece and make another one. Oh well, should be a zero-sum game in the end, I have plenty of extra aluminum angle sitting around. For now, I decided to continue with assembling the rest of the assembly for match- and final- drilling:

The "subpanel" and three ribs clecoed to the forward fuselage. The errant F-1044B angle (accidentally sans F-1044C spacer) is visible attached to the middle rib.
For a while, I thought this F-1044A center rib might have been formed incorrectly at the factory-- the holes in the forward flange are much closer to the web than normal and were a PITA to dimple. They are correct though!

Right side of subpanel

Forward top skin clecoed into place for final-drilling!
This makes the airplane instantly look super-neat (as if it's not already super neat-looking, anyway). It's easy to get lost just staring at the thing and watching the time go by. However, I resisted that temptation and proceeded with all the necessary drilling tasks. The focus then shifted to the inside of the cockpit now, where the last drilling task remained: match-drilling the F-1003D/E flanges. These pieces start life as 0.032" aluminum angles and must be fluted to match the contour of the top skin, ensuring that no flutes are made where the instrument panel attach holes are. This proved a bit tricky but in the end wasn't all that bad. After that though, you have to hold the pieces up under the panel and match-drill down (towards your fingers!) into the angle. It was a bit of a sticky situation but ultimately I only had one "close encounter" with a drill bit poking through, and no blood was shed during that battle. Whew!
That's pretty much it for tonight! Tomorrow I think I'll start on an idea I have for a center console to go between the panel and tunnel... stay tuned!