Happy Mother's Day! Made a lot of great progress on the ailerons today. Final-assembled the counterweight and nose rib assembly, and placed them into the leading edge skin for more drilling, this time to make holes in the counterweight for the leading edge itself.

The right outboard nose rib, with counterweight attached

A close-up of the right inboard nose rib, with counterweight attached

The assembly is placed into the leading edge skin so the counterweight can be drilled to make holes for the leading edge blind rivets
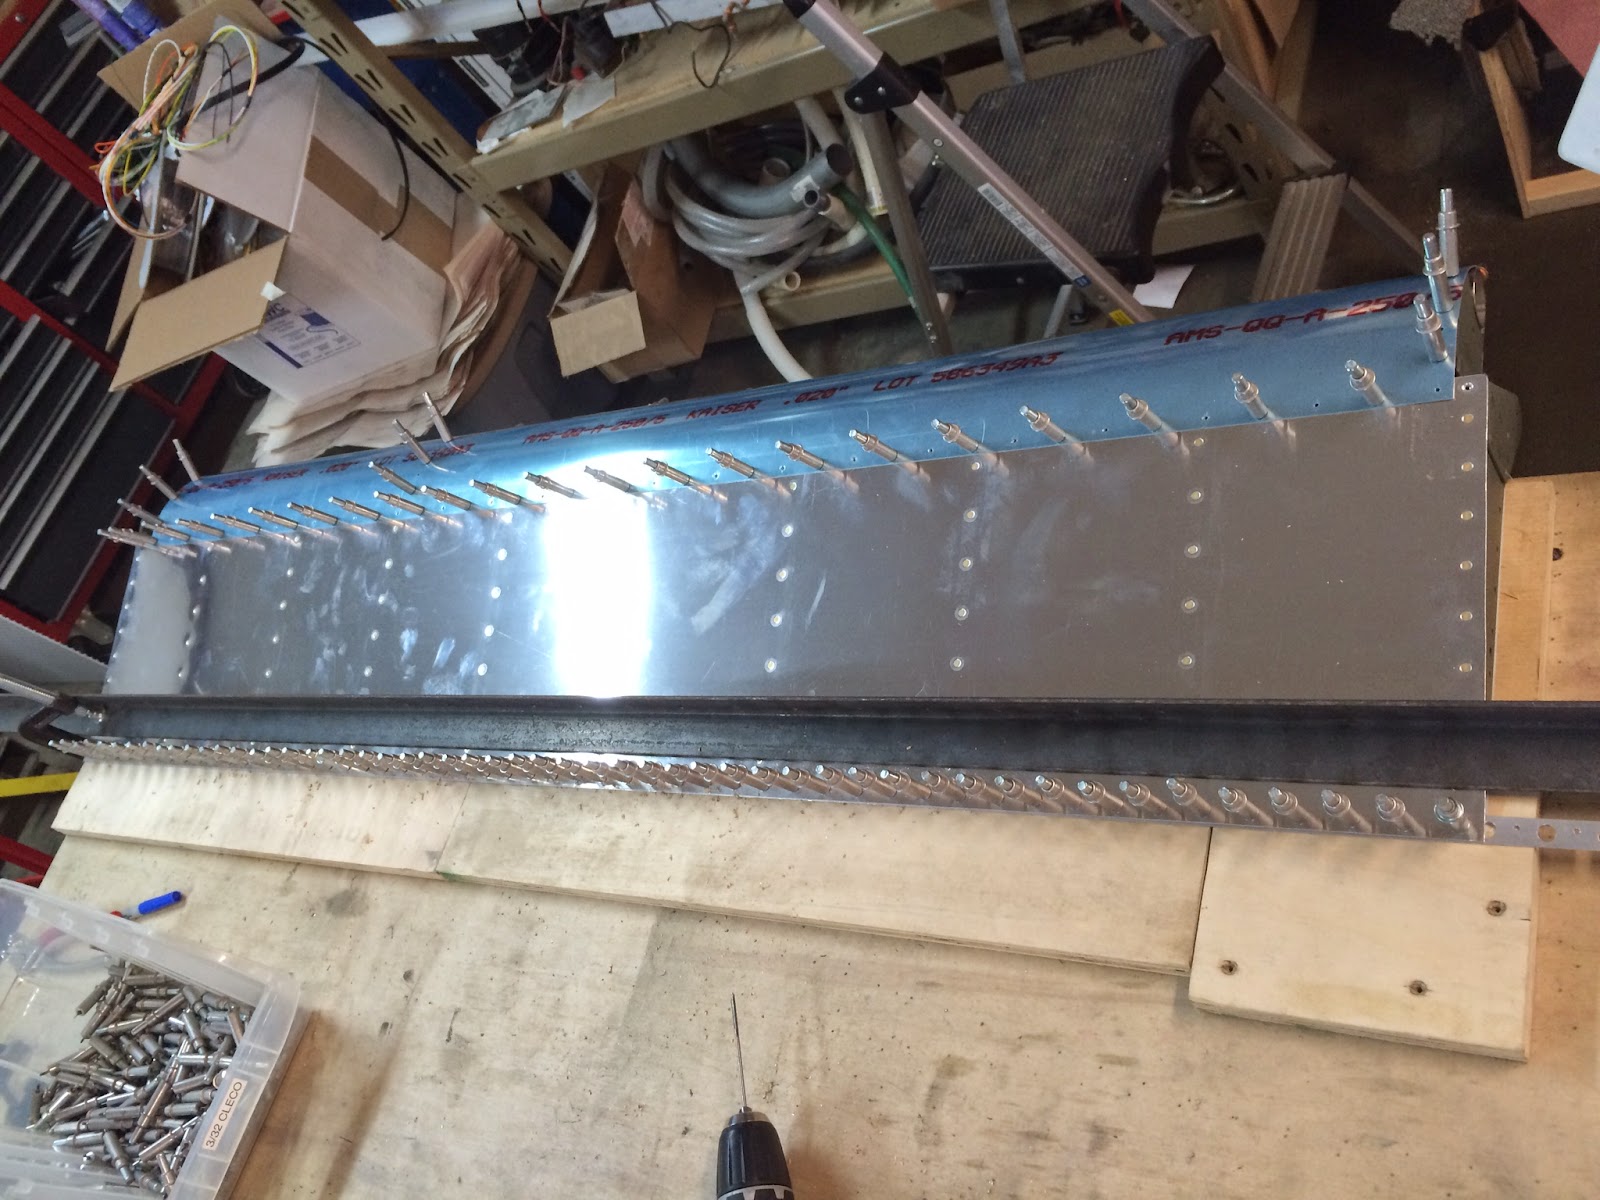
After the leading edge assemblies were complete, we deburred, dimpled, and primed the four aileron skins, and then back-riveted the 32 stiffeners to them.

The four aileron skins with 8 stiffeners and 2 end brackets each
Back-riveting a flat and relatively small piece such as an aileron skin is quite easy and stress-free, compared to a lot of the messy work we're used to getting into with the tanks! It was a very welcome change. Anyway once the skins were completed, it was time to assemble the whole thing for drilling the spar and trailing edge. This is very similar to the construction of the elevators and rudder (essentially the exact same process), so I laid out some scrap pieces of wood (for drilling into), ensured everything was straight, square and level, and put the skins and trailing edges together. After a bit of drilling, we ended up with this:
Starting to look like an aileron!
After final-drilling the trailing edge, the assembly came back apart for more deburring, dimpling, and priming. The plans call to dimple the spar, which seemed odd to me (it's 0.040" thick) but we went with it anyway. It's quite a workout on the hands using the squeezer on material that thick, but we got through it all. Next, the leading edge had to be dimpled. Most of the holes could be gotten with the squeezer, but the few that couldn't be reached are a bit tricky to reach. Thankfully, the MikeyJ-2000 dimpler didn't disappoint!

Not a very good shot, I couldn't hold the part straight and hold the camera
Anyway, with the skins dimpled (and primed), it was time to begin final assembly. We cut out and screwed together 6 cradles per the plans to hold the leading edges of the ailerons (and flaps later) during assembly and got to work. First part was to assemble the leading edge. We placed the leading edges into the cradles and clecoed the ribs and counterweight assembly together like this:

Right inboard side of aileron leading edge

Right outboard side of aileron leading edge
It's a pretty tight space in there, especially if you have big hands like me, but it is doable. Without question, the tungsten bucking bar is critical here. Honestly I'm not sure how you'd do it without one. From here through the rest of the day, I just focused on the right aileron. I riveted the nose ribs and counterweight assembly to the skins, and realized I was running low on LP4-3 rivets. I think possibly because I used them when installing the wing leading edges in places where Van's gave you a choice between blind or solid rivets, I'm going to be about 15-20 rivets short I think. I'll have to place an order for some more first thing Monday.
Anyway, after riveting the aileron leading edge together, the spar and top skin could be installed. We clecoed it into place and started riveting it together, from the middle out towards each side. There was plenty of room to work with because the bottom skin still hadn't been installed, so that was going to be the hard part.

The completed R aileron top skin, from the inside
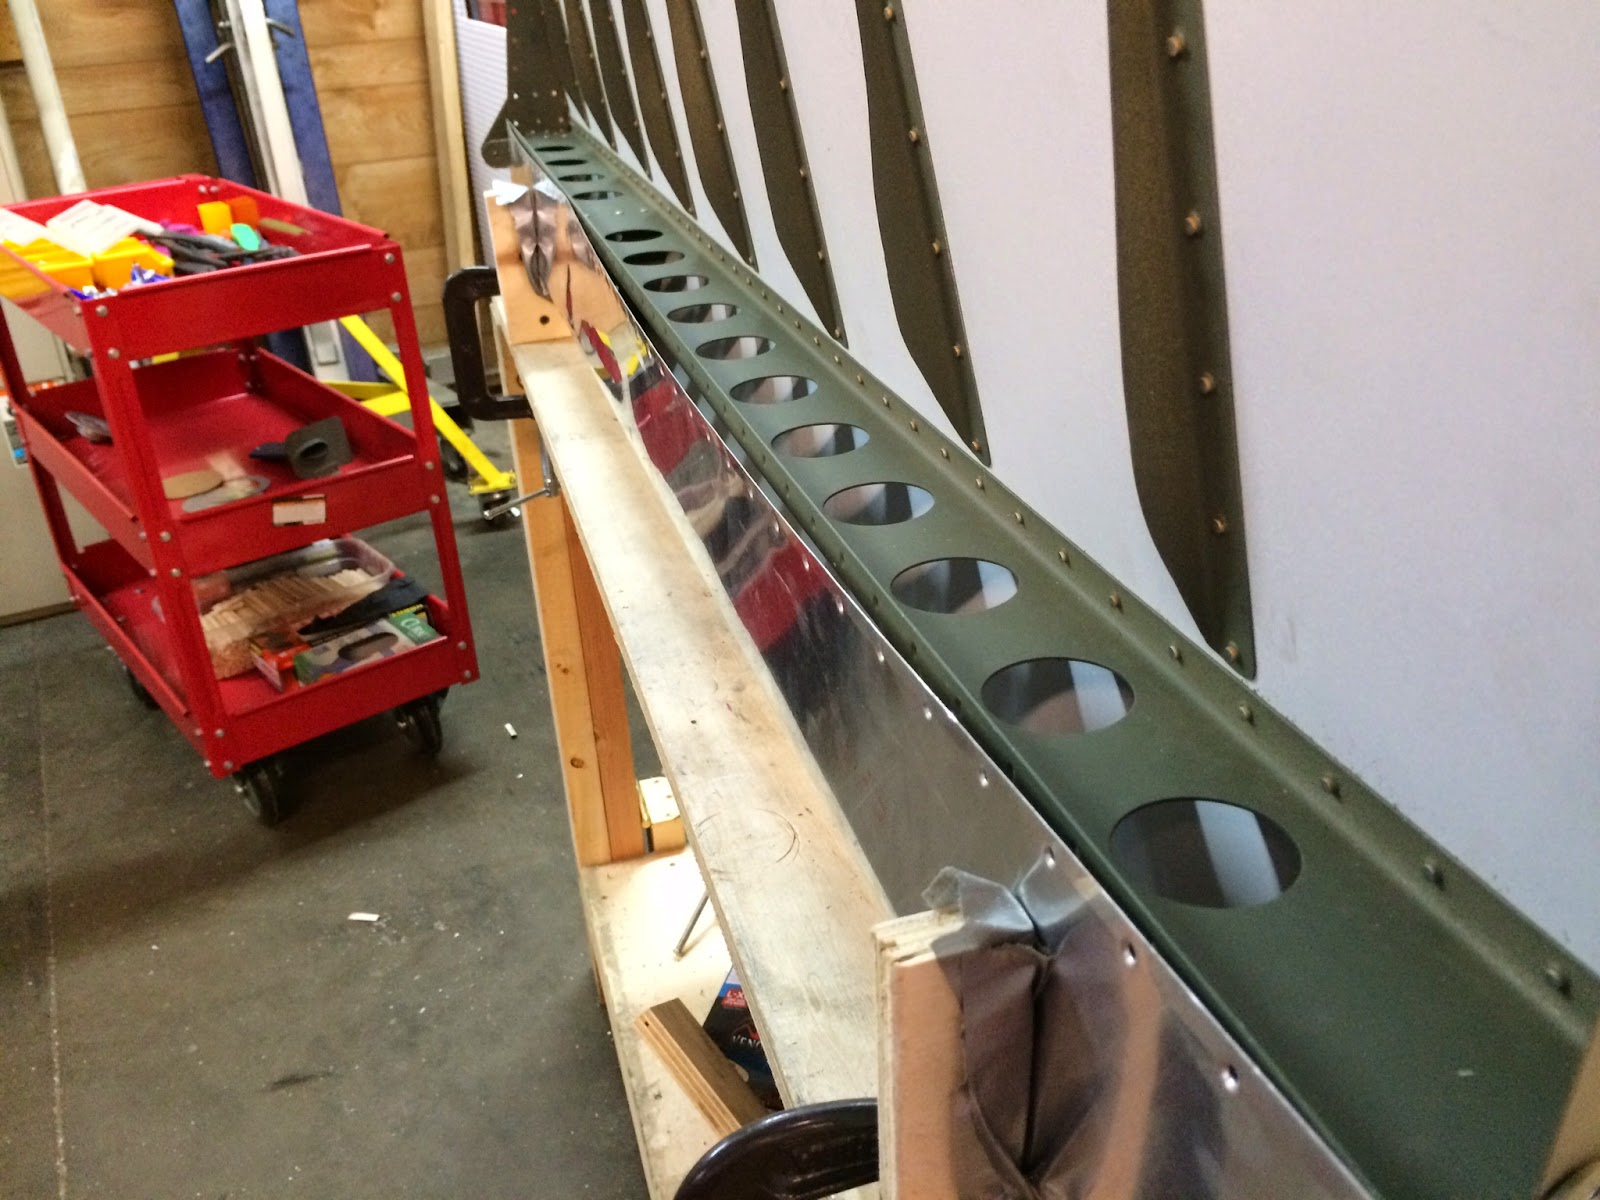
Close-up view of the inside of the R aileron with top skin installed

In order to orient the bucking bar properly, a "bump" had to be created out of some rolled-up duct tape so that it would sit level with the spar flanges.
Now comes the hard part: installing the bottom skins. There isn't a whole lot of room between the skins, and somehow you've gotta get your hand down in there to hold the bucking bar in place to set all the rivets along the spar. I slid the bottom skin into place, and got to work.

There is just enough room to get your hand in there and enough fingertips on the bucking bar to hold it straight while riveting. This photo was taken directly in-line with the bottom skin (you bascially can't see it) and you can see one AN426AD3-3.5 rivet put into the hole, ready to be set.
Got about halfway through the line of rivets... it's slow going but actually isn't all that bad. We shouldn't have any trouble finishing this up tomorrow and hopefully getting most of the way through the left aileron too... then, on to the flaps!!
The race against the ABF truck carrying our fuselage crate continues... who will win??!? :-)
No comments:
Post a Comment