Monday, March 16, 2015

Wings

Today we finished deburring, scuffing and dimpling the L top skins and then primed everything. The L skins are now clecoed into place and ready to rivet! Instead of riveting though, we continued with the R wing to finish the rear spar and top skin preparation. The R rear spar parts (including the new W-1007D) are all drilled, deburred, scuffed, and ready for primer. The R top skins have all been final-drilled, countersunk, and nutplate attach (inboard side) all prepped. Still need to finish deburring the holes, then scuff, dimple and prime. Once that is complete (hopefully tomorrow) we will be ready to rivet both L and R top skins to the wings!

L outboard top skin after dimpling, ready for primer!

Priming the skins with Rustoleum aluminum primer

The R rear spar parts all drilled, countersunk, deburred, dimpled, and scuffed... ready for primer!

The L top skins in place and ready for riveting

L top skins from the other side

Sunday, March 15, 2015

Wings

Started off this morning not working on the plane directly, but wanted to make some improvements to my dimpling tool. When we started this project, I decided I wanted to make my own C-frame dimpler embedded into the work table. I've seen the commercially available ones, and of course the DRDT-2, but for me I couldn't justify the cost if it didn't do 'exactly' what I wanted. So... I got to work on an idea I had a while back to make the best dimpling device ever. If I failed, I told myself I'd just break down and get a DRDT. To my own surprise, I think I succeeded! Total cost? $0.00! An aviation first! :-)

The idea was to attach an air hammer (or rivet gun) to a swinging arm that could go up and down towards the very edge of the workbench. On the gun would be the male half of a dimple die, and then the other half of the die would be placed into a very heavy steel block, slightly recessed into the work table at the very edge. This way, the dimpler can accommodate very large sheets (i.e. wing skins) and process them very quickly and consistently, since the air hammer will always be held straight and level by the swinging arm. Also, since the lower block is embedded into the edge of the table, it will be perfect for dimpling the leading edge curves using the gun and dimple die by hand.

The dimpler was built using some leftover 1" x 1" square steel stock from the first dimpler, some angle iron, steel plate, hose clamps, and an old air hammer that I've had for a while and still works great. It felt very MacGyver-ish, only I didn't need to use a paper clip or duct tape. The air hammer isn't as "precise" to control as the rivet gun, i.e. there aren't numbers printed on the air control valve but otherwise I still can't tell the difference between the two for the life of me, other than the price (Maybe that's what the "3x" means? ;-)). Anyway the air hammer is perfect for this. I test-ran it on some scrap running the gun at 35-40psi with a 1-second or so burst and the dimples came out 100% perfectly coined! I think if someone wanted to go out and buy all the parts new for this they'd spend less than $50. Here's the completed setup:

Some steel stock, angle iron, and hose clamps and a couple bolts attach the gun to the swinging arm.


The gun, arm, and attachment to the table. It does have some side-side slop, but as long as you don't really torque on it, it is quite easy to line up with the die. You can also see the patch job I did to cover the previous hole where the old C-frame dimpler was set up. Not the prettiest, but it works.

Straight and level from all angles. I put black carpet over the lower block because it was an ugly mess of steel bars and cut-up 2x4's, this makes it look a lot better.

When you're not using the dimpler, you can swing it up and out of the way. I should probably put some sort of up-lock on it so that it doesnt get bumped and come crashing down. Maybe a spring too. We'll do that in v2.0.


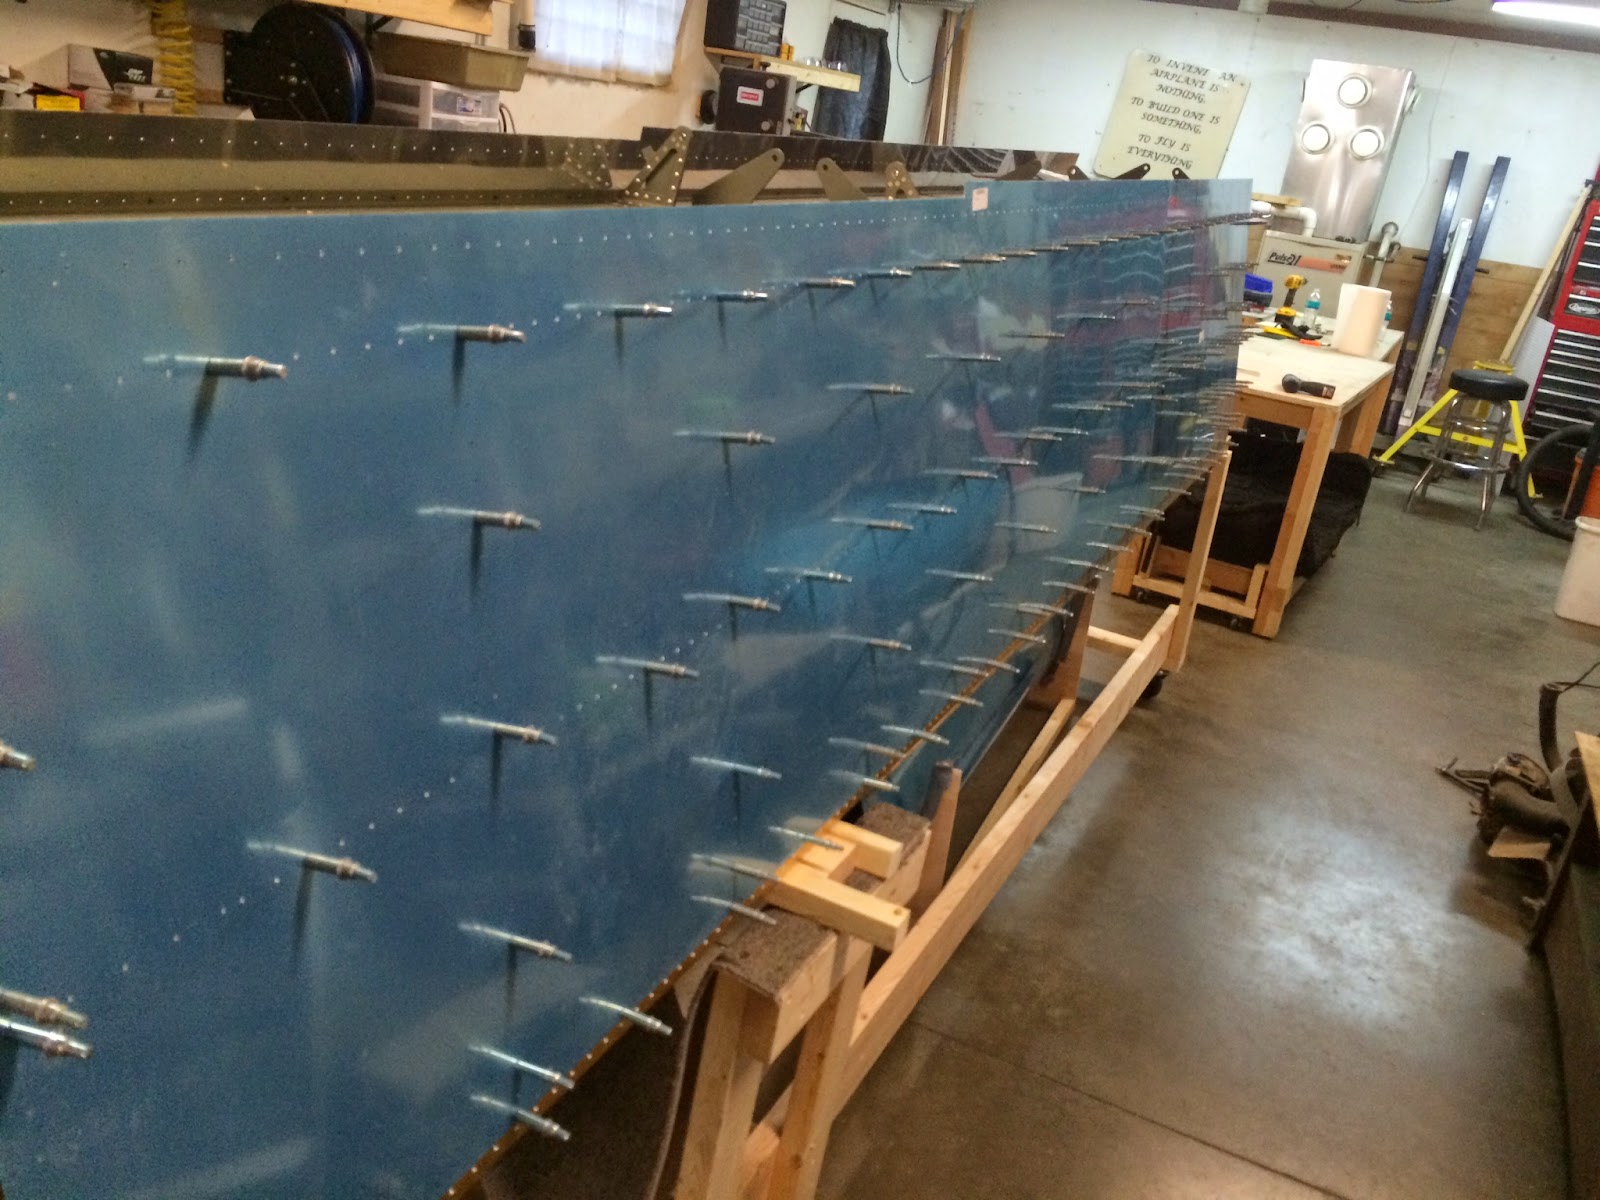
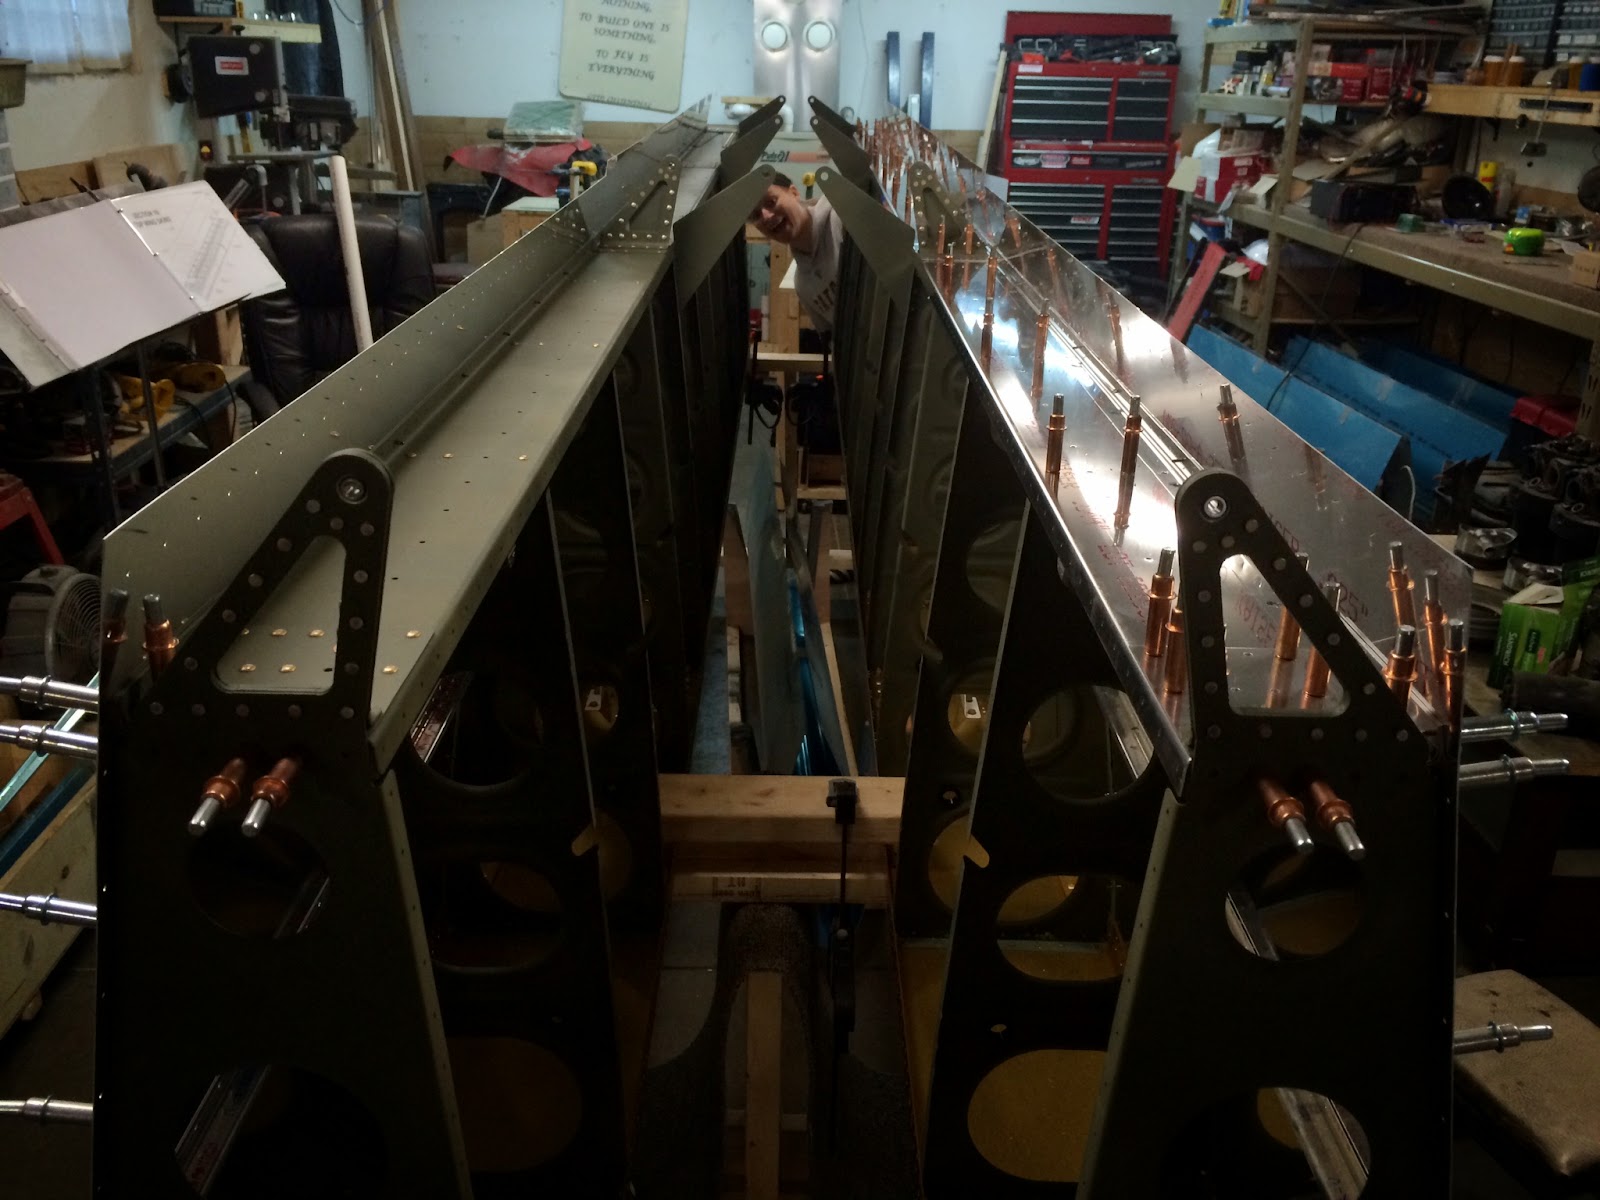
Anyway, on to the actual work for the skins. We final-drilled all the holes in the top skins, and I also countersunk/dimpled the areas of the top skin that needed to be while still on the wing. No pics, since it pretty much looks the same as it did yesterday. Towards the very end of the day, I was able to pull the L top skins back off the wing for the exciting task of deburring/dimpling. I got through the wing walk doublers and the inner skin (the smaller of the two), and decided to call it a night. Good news though, the dimpler works perfectly!

The MikeyJ-2000 dimpler in action on the W-1002 top wing skin!

Dimpled, scuffed, and ready for priming!

And that's all for this weekend, folks! Hopefully this week we'll get through the top skins on both sides and be ready to tackle the leading edge!


Saturday, March 14, 2015

Wings

Some real progress today! Primed, assembled and riveted the rear main spar for the L wing per the plans (15-4 step 4). This involved leaving a line of rivets out along the lower-middle of the spar for later attachment of the gap fairings. Other than that, this completes the skeleton structure of the left wing! In the meantime, Sarah got to work starting Section 15 on the right wing, match-drilling and assembling the 5 pieces of the rear spar. Well, 4 pieces... we're proceeding without the W-1007D/I piece for now until it arrives.

The W-1007B/C spar doubler (most inboard)

The W-1007D/I spar doubler

The W-1007D/O spar doubler with W-1013-L aileron attach bracket

The W-1007E spar doubler

Got some new toys in the mail today too! Got my shipment from Cleaveland tools which included a handheld back-rivet bucking bar and long back-rivet set to use on the wing top skins, Also got a new drill... being a DeWalt guy myself, I've come to realize 90% of the drilling we do does not require a bulky, heavy, powerful drill... small and lightweight is good especially when you have a million tiny holes to drill. So we got a Bosch PS31-2A. Seems to fit the bill perfectly!

The back-rivet bucking bar from Cleaveland Tool. Beefy! Can't wait to give it a try.

The diminutive and lightweight Bosch drill. It works perfectly for the majority of our drilling needs!

The last thing we got in the mail today was a surprise indeed... the W-1007D doubler I had reordered from Van's! I was sure that it would take longer than this to arrive, but this is great news. We'll be able to finish up the rear spar on the right wing now!

After finishing the L rear spar, I got to work on Section 16 for the top skins. This was exciting to me because it's the first skin-related step since working on the tailcone. Also, clecoing skins into place is usually pretty fun and goes quickly, with a dramatic change in appearance:

The two W-1027A/B wing walk doublers fit unto place underneath the top skin

The W-1002 inboard top skin, clecoed in place over the doublers (also Sarah final-drilling the rear spar on the R wing)


The (L) top skins clecoed into place

Once Sarah finished match-drilling, we decided instead of disassembling everything now in order to go back and make the W-1007D/I doubler to just leave everything clecoed into place and start on the top skins too. So, after a bit of clecoing, we had the top skins in place for the right wing too!

The (R) top skins clecoed into place

Inboard view of the wings

Outboard view of the wings

Good stopping point for today! Tomorrow we'll start the laborious and non-photogenic task of final-drilling the 500 or so holes in the skins... maybe some deburring and dimpling too, we'll see!


Thursday, March 12, 2015

Wings

Lots of progress today! First, I got the tungsten bucking bar I ordered from Midwest Tungsten... regular ground shipping from IL, it was door-to-door in less than 24 hours... nice! And holy crap it's tiny and really heavy!! I think I finally understand why tungsten is so desirable for use in a bucking bar... duh. Wish I had bought one sooner, they are just so darn expensive compared to steel I just never justified the cost. Advice to future builders: buy one sooner than later, the more rivets you buck with it, the more money you'll get out of it. Also, it's way easier to make a clean-looking, flush rivet since it will be less prone to wander while you're riveting. Just don't drop it on your toe.

This lil' guy bucks rivets better than the steel bars I have that are twice this size! I might buy one or two more now that I'm sold... hey it's only money right? Ha.

Also my Duckworks "lampless" landing light install kits arrived! I'm planning on putting a light in each wing, but I want to use my own design for lights so this kit seemed like the perfect thing. I'm excited to install them!

Anyway, on to the wings. Did basically the same thing to the right wing today that we did to the left wing yesterday, more as a team effort this time. Originally I think the plan was for Sarah to do the right wing with me doing the left wing, but so many parts just go so much easier with two people and four hands instead of us both struggling separately on our own things. We'll see how this new paradigm works :-)

The assembled wing spars and ribs, both sides complete!

View from the wingtip side, you can see rib #15 is only clecoed into place so far (we'll need to remove it for later access before finally riveting it into place)


I also found some time to continue on the L wing rear spar. It turned out yesterdays boo-boo on the W-1007D piece was actually double-wrong... not only did I drill the wrong part, it was also upside down and backwards! So it's completely useless, can't turn it into the shorter E part. No big deal, just frustrating to see such a careless mistake. At least it was a $3 piece. Anyway, got all 5 pieces drilled and deburred for the L wing:
The W-1007 E, D-O, D-I, C, and B pieces after drilling

The rear spar clecoed into place with all hinges and doublers

The inner aileron hinge bracket clecoed to the rear spar

View of the rear spar

Tomorrow we probably won't be building much but hopefully this weekend we'll be able to get started on the R rear spar (as much as we can while we're still missing one of the doublers) and maybe start on the top skins... exciting!


Wednesday, March 11, 2015

Wings

EDIT: Mistake made on this day discovered later. See "Gotcha" in this post from 4/12/2015.

Completed section 14 for the ribs today! That involved first riveting the flap attach brackets together (3@ 16 rivets each), and attaching the aileron torque tube support to rib #1L. Then the fun part began... attaching each rib to the spar, one by one. We had previously developed a different numbering scheme for the ribs because we found Van's numbering scheme quite confusing, especially on the right wing which is not depicted at all in the plans and is only mentioned to be a "mirror image" of the left wing. That's fine, but each wing has a series of part numbers designated R and L, and certain things have to be done to certain ribs to make them all work together properly. To simplify everything, once we got all the ribs in the right location early on, we numbered them 1L-15L, and 1R-15R.

I attached the ribs in a slightly off order to maximize space for the bucking bar around the wing-walk area. I attached rib #3 first, then #2, then #1, and then proceeded with #4-#15 in order (#15 doesn't get riveted yet, only clecoed into place). I snapped in two small grommets for air lines (pitot/AOA), and then a larger 5/8" grommet for wiring. Lastly, a sundry of AN3 bolts needed to be selected for the upper and lower rib attach points (thru rib #12), along with washers and locknuts. These were done last, and then finally torqued to 25 in-lb and dabbed with torque seal.

One of three flap attach brackets. These go on ribs #1, 7, and 11.

The two air lines in front, and the wiring grommet in the stock location. Hopefully I won't regret not running conduit like many have done.

The aileron torque tube support.

Helloooooooooooo!


All riveted and bolted together! (Except #15)

With that, I decided to get a jump start on Section 15-3 (we had already done pg. 2), for the rear spar. This was a short-lived effort, because I basically instantaneously ruined my first part in the wing kit! The first thing the plans have you do is match-drill the W-1007E spar doubler to the rear spar. Instead, I used the similar but longer W-1007D to do this, and in so doing, ruined the piece. Careless mistake. Looked up the part on vansaircraft and it's a whopping $3. Oh well, could have been way worse I suppose. I think what I'll do is cut the D-piece I drilled to match the length of the E-piece, that way I won't have to double-drill through the spar holes to match-drill another fresh piece. Anyone need an extra W-1007E? :-)


Somehow, I managed to clamp the W-1007D (already labeled "I" for inboard, too!) into place for match drilling instead of the W-1007E that was supposed to go there. Oh well, no big deal... at least it's cheap and fixable.

Tomorrow, I believe we'll start on the right wing and hopefully get to the same place we are now on the left side!


Tuesday, March 10, 2015

Wings

Not really much in the way of "direct" progress on the wings this weekend through today. I did build the wing rack using plans I found online, and the leading edge cradles. Since both Sarah and I are working on the wings in parallel, I thought it might be nice to make four total cradles, so that we can work on the leading edges and tanks all at the same time. I'm thinking we can start on the tanks first, since there are many stages of proseal curing time, during which we can continue on the other parts. Of course, we still need to finish the ribs, rear spar, and top skins before we get to that!! Maybe our excitement is causing us to get a little ahead of ourselves...

We also cleaned out the garage on Saturday, taking two truckloads of crap to the landfill. It's nice to have a little more breathing room in here now, although honestly I think we could still stand to organize things even more. It's going to be a slow process to fully recover from the chaos of this past year.

Oh yeah, one other milestone today... we ordered the fuselage kit!!! A little bird had told me Van's will be increasing their kit prices "soon", so I called them today and just by chance found out they were in the middle of raising their prices right "now". So the person I spoke to was either the world's best salesperson, or just trying to do me a solid, but I squeaked my order in and got it processed before the price hike becomes official (tomorrow?). So, we might have the kit delivered a few weeks prior to needing it, but at least we got it at the cheaper price. Well, I guess I'm using the word "cheap" lightly here. Anyway, it will also be fun to gawk at all the parts that I'm really excited about in the fuse kit while we're finishing the wings.

Otherwise, the only real work we got done was I caught my L ribs up to Sarah's R ribs, they are all deburred, primed, and ready for final installation to the spars... hopefully we'll get to that tomorrow!

The L wing ribs after priming


Friday, March 6, 2015

Wings

Short day today, no pics either.. probably not much more to come this weekend, as we have non-rv10 plans both Saturday and Sunday. Finished priming the R ribs, now just need to prime the L ribs and we can start riveting the ribs to the spars. Hopefully we'll get started on that by early next week!

Thursday, March 5, 2015

Wings

The deburring, scuffing, and priming continues. While working on the 30 wing ribs, we started assembling the the W-1029 and W-1013 brackets for the aileron torque tube and aileron hinge, respectively. It's coming together!

I also learned an important lesson tonight... especially for these little multi-part brackets that you can cleco together in less than a minute and start banging away on the rivets, DOUBLE-CHECK THE PLANS AND YOUR ASSEMBLY BEFORE RIVETING. It's really easy to use the wrong rivet or orient a part wrong. Especially when the L and R wing assemblies are mirror images of each other, and the plans only depict the L side. If you don't realize this until you've started riveting, guess what, you have to drill it all out and start over. Happened to us on two of the six brackets we put together tonight-- both my fault. Things like this happen from time to time, for sure, but it's just frustrating to make dumb mistakes like that. Oh well, important thing is we caught our mistakes and everything came out just fine in the end-- just took more time and anguish than it should have.

Lastly, I finally came to a conclusion on how I want to run my wires and pitot/AOA tubing for the wings (for now, at least). I went through more mental gymnastics on this than I think I was prepared for, and sketched this up in a number of ways before drilling anything. Against what many have done, I'm not going to use conduit in the wings, but instead just use the grommets that Van's recommends, with a high-quality wire sleeve. I drilled 5/8" through all ribs in the pre-punched location between the first and second lightening hole, and then two 3/8" holes in the left wing for pitot and AOA, On the right wing, we'll probably do one 3/8" hole part-way through the wing to accomodate trim/AP servo wiring.

Not many pictures from today, but here's what we have:
The first batch of wing ribs primed.

The six brackets mentioned earlier, all riveted together and ready to go!


Wednesday, March 4, 2015

Wings

Disassembled the ribs from the spars to begin the long and tedious task of prep for final assembly. This included fluting (we hadn't yet fluted the ribs to straighten them-- they weren't too bowed but a few of them definitely needed straightening), deburring the holes already match-drilled, scotch-briting, and priming. We got through all of the small parts, including the aileron attach brackets we made ahead of time in Section 15. Not too many pictures since prep work is about as interesting as watching primer dry... we did shoot this pic though:

One of us is more creative than the other when it comes to laying out parts to prime. See the little guy with a backpack on the right? Sarah has named him Edward.

Unfortunately we had to reposition some of Edward's body parts before actually spraying them, in the spirit of primer efficiency.

One note on primer: The astute observer may notice that we're switching a lot between Rustoleum Self-Etching Primer (gray), Duplicolor Self-Etching Primer (green), and Rustoleum Aluminum Primer (white). Going forward, I think I'll be getting away from the Rustoleum Self-Etching because it goes on too thick. I have one or two cans left and might use some on random parts here and there, but during the tailcone construction I sort of decided on going with Duplicolor for all non-skin parts, and Rustoleum Aluminum primer for the inside of skins. They both seem to adhere pretty well, and one can seems to go farther than the RSE did. I like the white color of the Aluminum primer on the skins too, hopefully it should make future inspections easier by reflecting more light inside enclosed areas. We'll see how it goes.


Monday, March 2, 2015

Wings

Caught the right wing up to the left wing. Now both sides completed through page 14-3 step 3, and 15-2 step 3.